Have you ever dreamed of creating a stunning DIY industrial glass wall but were put off by the high cost and complicated process? What if I told you there’s an easy and affordable way to achieve that chic, New York loft-style look? In this guide, we’ll show you how to build your own industrial glass wall for just $450! Read on, and get ready to be amazed by how simple and budget-friendly this project can be.
Total price
$0
Estimated time
25 Working hours
Difficulty
3/5
Step 1: Order glass shower walls
The first step in building your DIY industrial glass wall is finding the right materials at an affordable price. We spent some time searching online for New York-style glass walls, but most of them were priced well over $1000 each—way out of our budget! Then, we stumbled upon a game-changer: glass shower walls.
We found beautiful glass shower walls for only $212 each. These shower doors have the industrial look we were after, with metal framing that mimics the style of traditional industrial glass walls. We ordered two of these to build our glass wall, keeping the total cost low without sacrificing style.
Pro Tip: Search for “New York Glass Shower Walls” to find budget-friendly options that suit your project.
Materials: 2 Glass Shower Walls Cost: $424 (for two walls)
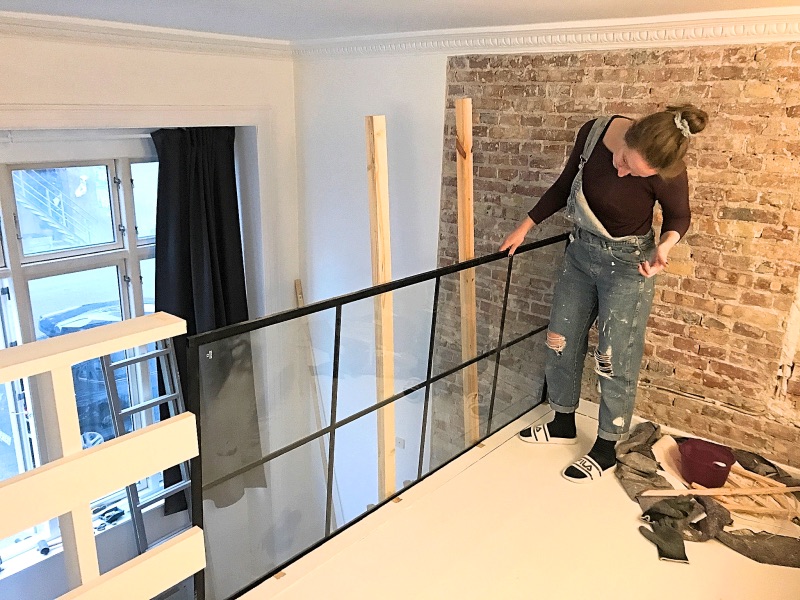
Step 2: Clear area
Now that you have your materials, it’s time to clear the area where your DIY industrial glass wall will go. We started by removing the handrail in the loft area using a handsaw. Make sure to clear out any unnecessary items and prepare the space for the installation.
While working on the glass wall, we also took the opportunity to repair a nearby brick wall. If you’re interested in adding more industrial elements to your space, check out our guide on building a DIY Brick Wall.
Tools: Handsaw, Screwdriver Materials: Drop Cloths, Tarp for Dust Protection
Step 3: Prepare the Installation Area
After clearing the space, it’s time to prepare for the installation of your DIY industrial glass wall. In our case, the loft area where the wall would be installed was only 178 cm high, while the glass walls were 220 cm high and 90 cm wide. To make them fit, we had to cut away 2 cm from the floor.
Using a multi-cutter tool, we carefully cut the edge of the floor to create the space needed for the glass wall. This step requires precision, so take your time to measure and cut accurately.
Pro Tip: If you don’t already own a multi-cutter tool, consider investing in one. It’s a versatile tool that can handle a range of tasks, making it invaluable for this project.
I used my Multi Cutter tool for this job, cutting from both sides of the edge of the floor. Check out the 11 Most Essential Handyman Tools to read more about the Multi Cutter Tool, it is AMAZING!
Step 4: Prepare the Ceiling
The next part of the preparation process involved modifying the ceiling. We had a nice rounded corner with a pattern that needed to be trimmed to fit the glass wall snugly. Once again, the multi-cutter tool came to the rescue, allowing us to make the necessary adjustments quickly and cleanly.
Pro Tip: Use painter’s tape to outline the area you need to cut on the ceiling to ensure a straight and precise cut.
With the floor and ceiling modifications complete, it’s time to test the fit of the glass walls. Carefully position the walls in place to ensure they fit properly within the space. We put up two temporary poles on the outside to test how the glass walls would align and function.
Pro Tip: Testing the fit before permanently installing the walls helps you identify and address any issues early, saving time and hassle later on.
Tools: Measuring Tape, Temporary Support Poles Materials: Drop Cloths
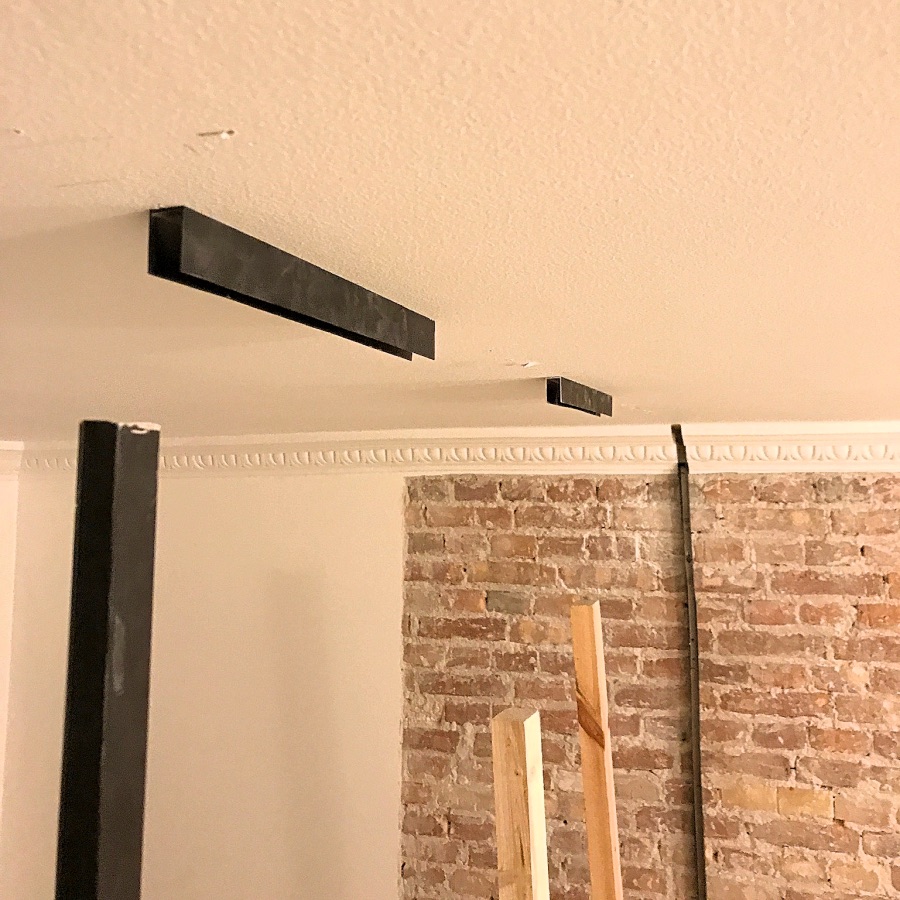
Step 6: Building a frame to hold the walls
Since we planned to stack the two glass shower doors on top of each other, we needed a sturdy frame to support them. Luckily, the shower doors came with attachment rails. We cut these rails into several pieces and drilled holes through them to attach them to the ceiling and brick wall securely.
Precision is key when building the frame. Use a digital level and ruler to ensure that everything is perfectly aligned. This step will determine the stability and final look of your DIY industrial glass wall.
Pro Tip: Double-check all measurements before cutting the rails and drilling holes. A small mistake at this stage can affect the overall fit and stability of your glass wall.
Tools: Saw, Drill, Digital Level, Ruler
Materials: Attachment Rails, Screws
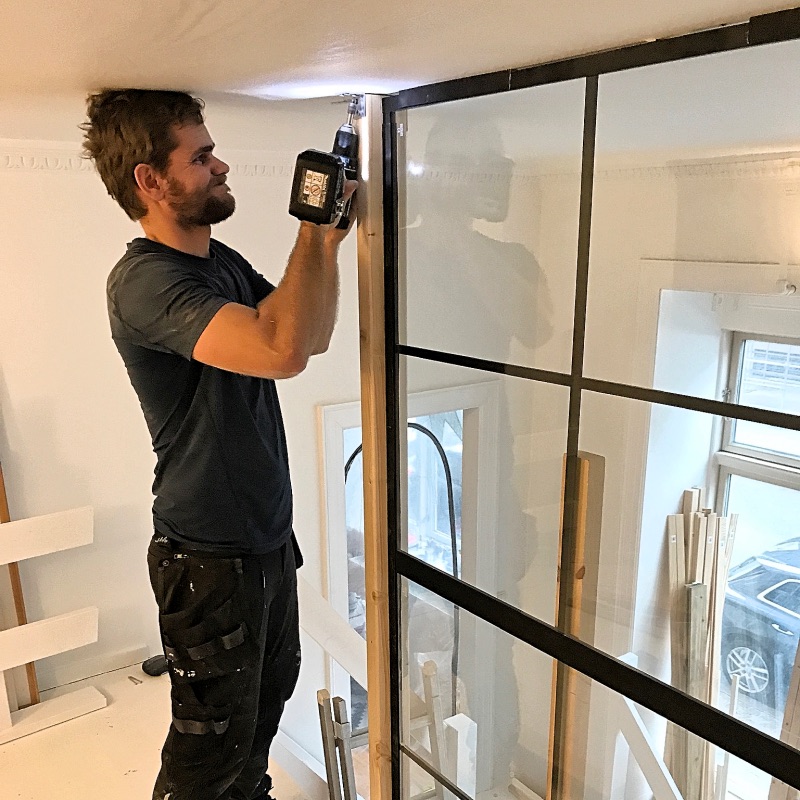
Step 7: Installing the walls
Here comes the moment of truth—installing the glass walls! We carefully stacked the two shower doors on top of each other and sealed them within the frame we built. To secure the structure, we connected a solid pole between the ceiling and the floor. This pole acts as a support, holding the glass walls firmly in place.
Pro Tip: Get a helping hand for this step, as handling large glass panels can be tricky. Safety comes first, so use gloves and take your time during installation.
With the glass walls securely in place, it’s time to add the finishing touches to your DIY industrial glass wall. We used some leftover wooden sticks to create a simple handrail and added filler to cover any small gaps or cracks in the installation. After smoothing everything with sandpaper, the wall was almost complete!
Pro Tip: Using a high-quality filler ensures a smooth finish, making the entire structure look polished and professional.
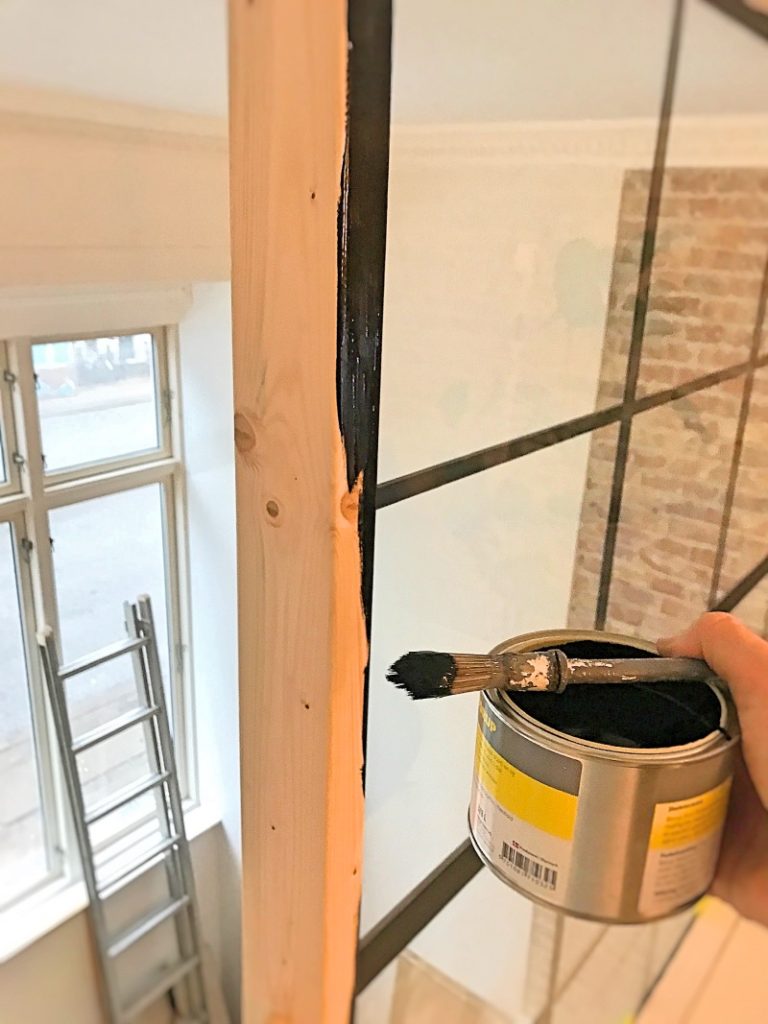
For the final step, we painted the wood around the glass wall using blackboard paint. This particular paint has a beautiful matte black finish that perfectly complements the industrial style. A couple of coats were all it took to achieve a sleek, modern look.
Pro Tip: Use a small paintbrush to reach tight corners and ensure an even coat for a flawless finish.
Tools: Paintbrush, Drop Cloths Materials: Blackboard Paint, Painter’s Tape
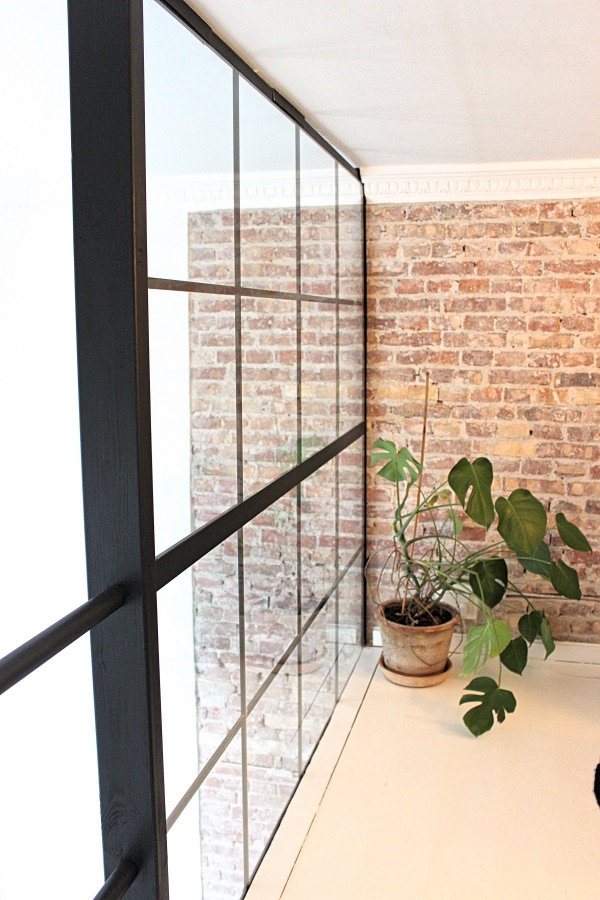
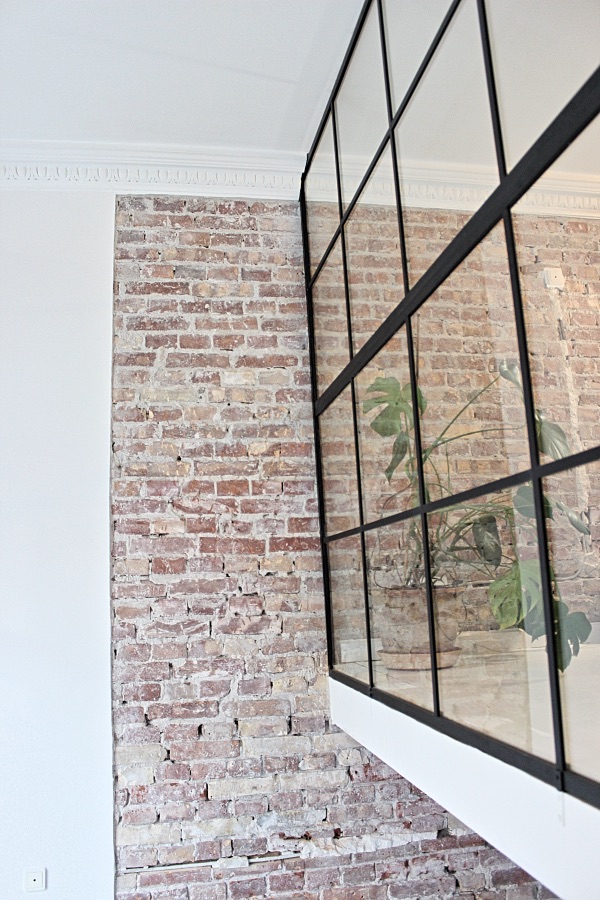
Final result
And there you have it! A stunning DIY industrial glass wall that adds character and a touch of modern industrial design to any space. The total cost of $450 is a fraction of what you’d pay for a pre-made industrial glass wall, and the sense of accomplishment from building it yourself is priceless!
Final Thoughts on DIY Industrial Glass Wall
Building a DIY industrial glass wall is an exciting project that can dramatically transform your living space. By using glass shower walls and a bit of creativity, you can achieve a high-end, loft-style look without breaking the bank. The key to success lies in careful planning, precise measurements, and taking your time with the installation.
So, are you ready to add an industrial edge to your home? Follow these steps, and you’ll have a stunning glass wall that’s sure to impress!