• hello@redesigndiy.com

Bedroom

Cupboard design for small bedroom

Cupboard Design For Small Bedroom

Cupboard design for small bedroom

Follow this simple step-by-step guide and learn how we created the perfect cupboard design for our small bedroom.
Cupboard design for small bedroom
Total Price
0 $
Estimated time
30 working hours
Difficulty
3.4/5

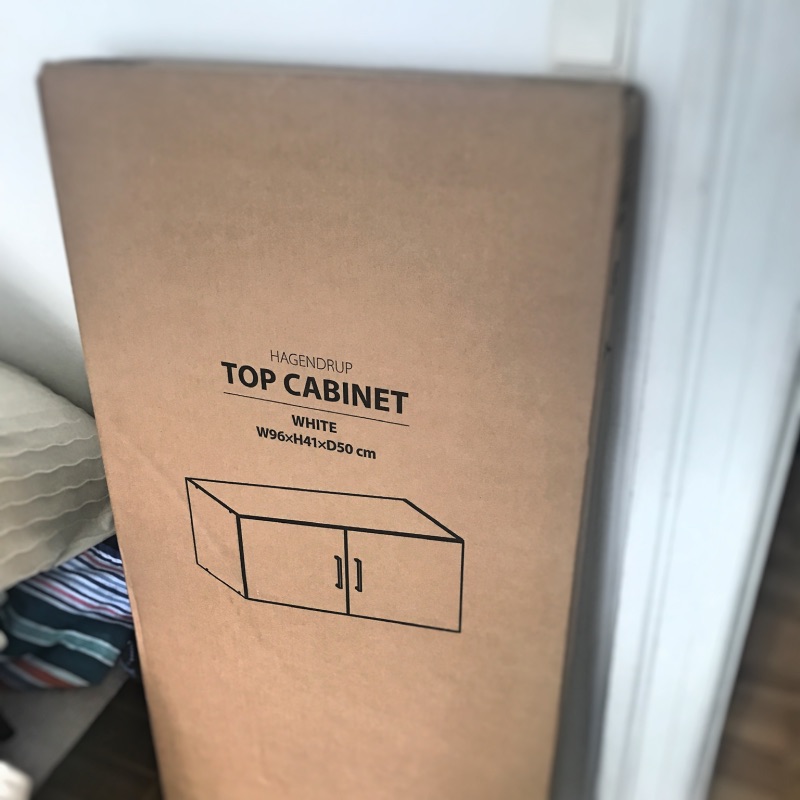
Step 1: Buy Top Cabinet from Jysk

We decided to go for a Jysk version of a cupboard. Is is originally designed for kitchens, but since the dimensions fitted our needs, we went for it!
Top cabinet from jysk

Step 2: Put cupboards together, and attached iron angles

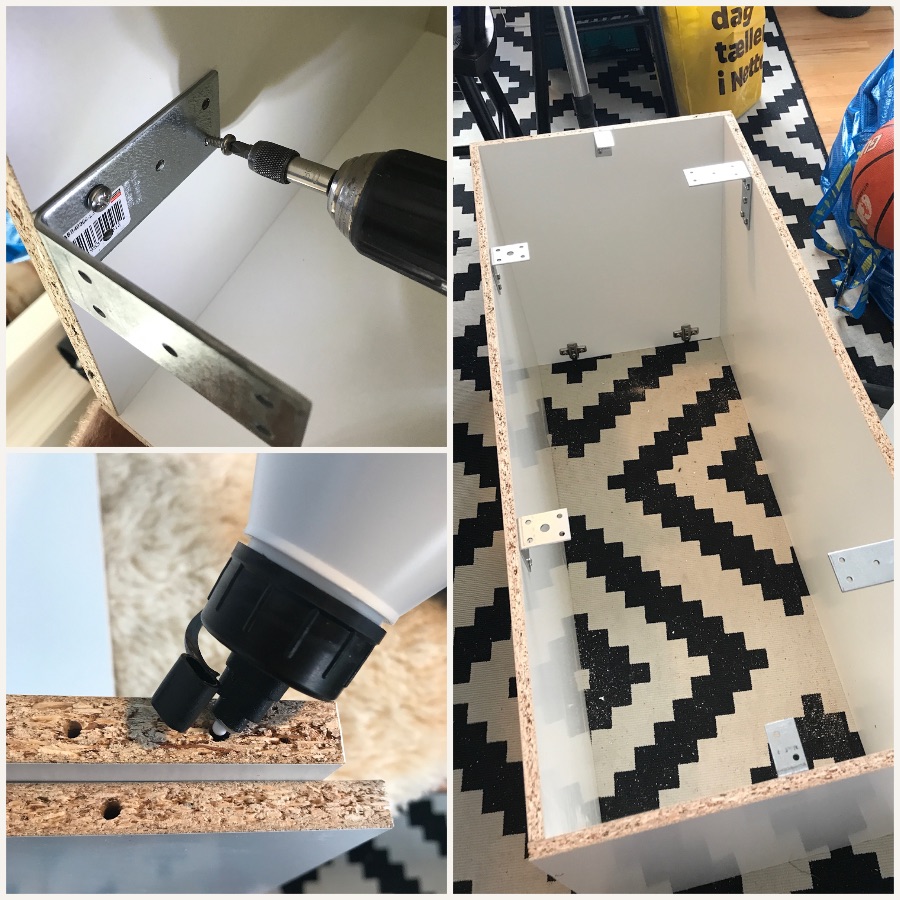
We follow the instructions to put the cupboards together. We used 3D glue for extra support when putting it together. 
Remember before starting it is a very good idea to have most tools ready for use! If you are out looking to buy tools, this is a good place to start: 11 Most Essential Handyman Tools
Then we added 6 x iron angles that would be used to hang the cupboards on the wall. We used small but thick 12 mm screws to attach theses iron angles. 
Prepare-cupboards

Step 3: Measure and drill

First, measuring time (this is a very important step, and please do it in this order): We took the exact cupboards and placed it on its exact position, WITH the iron angles already screwed in the cupboard. Then we used a pencil to mark the positions of the holes of the metal angles, on the wall.
Then we drilled in the wall for all the marks we’ve put for the iron angles, and after that we hammered in wall-plugs.
Drilling

Step 4: Screws in!

Then we added screws in all the iron angles, and now the cupboard would stay on the wall. You probably need some help to hold up the cupboard while putting in the screws, this was a 2 person job for us. 
Hang-up-cupboards

Step 5: Repeat

Then we repeated step 1-4  for all the cupboards (this is the longest part of the proces).
Cupboards-succesfull

Step 6: Add filler and sandpaper!

Time to make it look nice. We added filler to all small cracks, and sandede it all down so it became nice and smooth.

Step 7: Paint

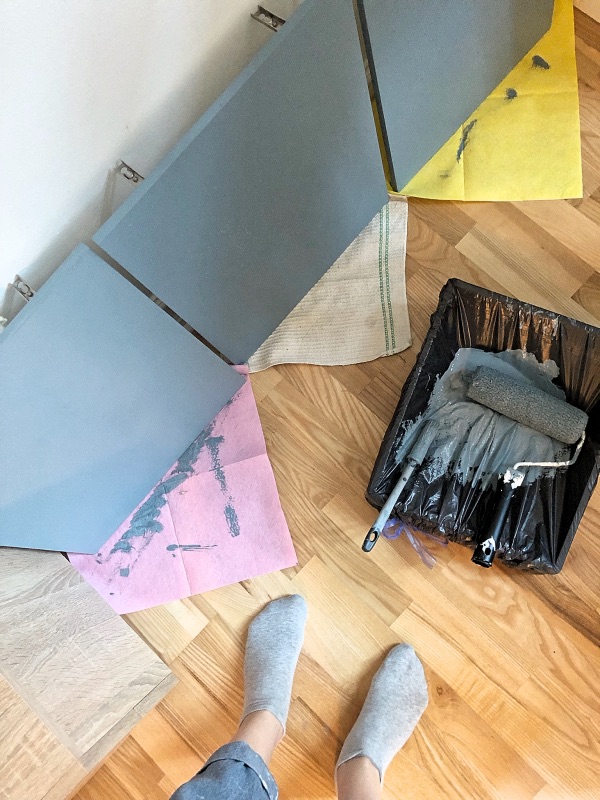
Painting time! First we sanded all surfaces with some sandpaper, and afterwards we applied paint two times. We actually used the same paint as for the wall, maybe not the ideal idea but it works out great, since the cupboards doors are not super often touched. 
Paint time
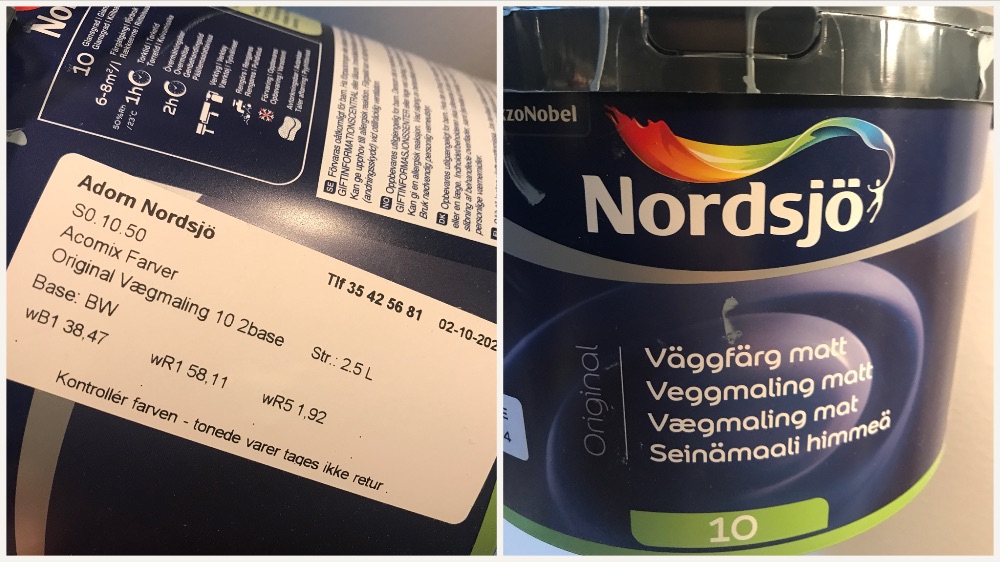
The pant we used was of the brand Nordsjö, and you can see the color code on the picture below.
The-paint

Step 8: Attach doors

After all the painting, we attached the doors and boom, our Cupboard design for our small bedroom was done!
Cupboard design for small bedroom-full

And there we go, that was our take on a cupboard design for a small bedroom.

1