Before we jump into the numbers, it’s worth mentioning that we already had most of the essential tools for preparation, building, and painting. So, the prices listed below focus solely on materials, furniture, and extras required for the build. We’ve included the costs in both Danish Krone (DKK) and US dollars ($) to give you a comprehensive picture of the total expense.
1. Paint
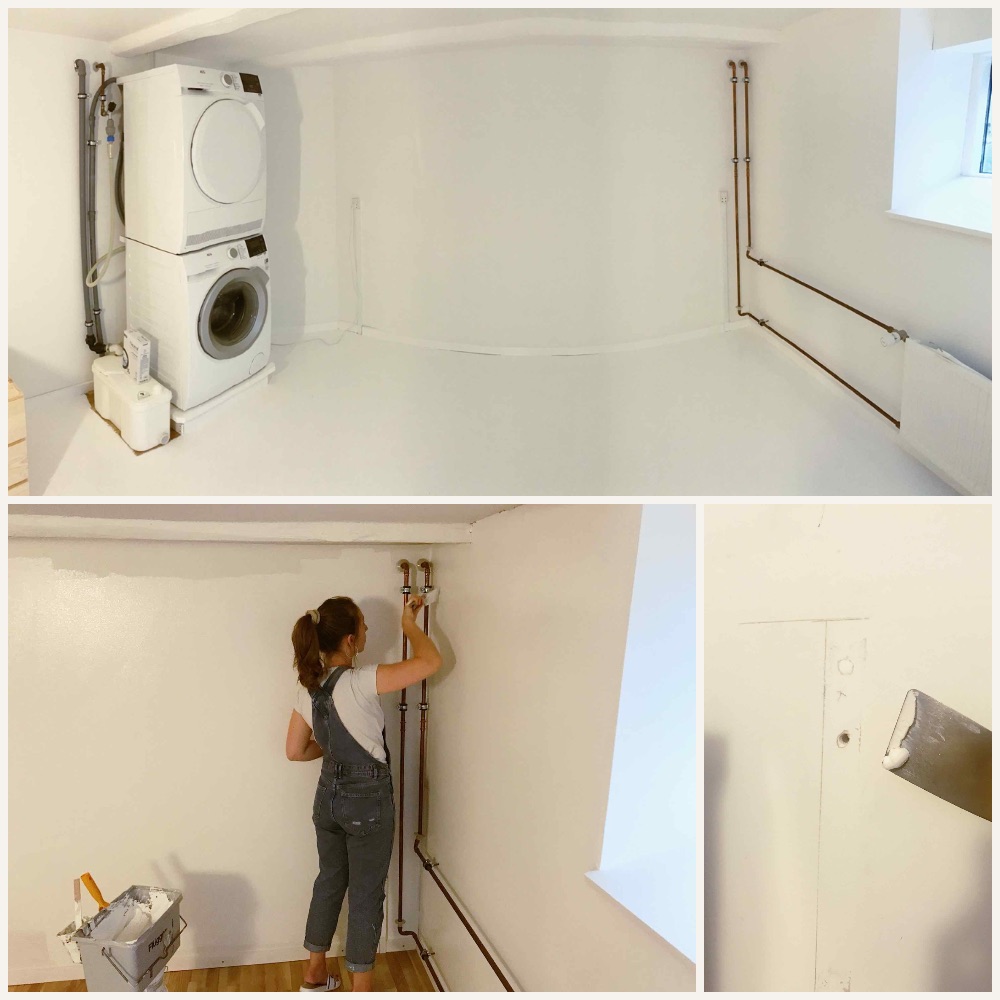
A significant part of how much it costs to build a walk-in closet goes into painting. From the floor to the ceiling and the closet itself, paint helps achieve a clean and cohesive look. Here’s what we used:
- Floor Paint: We bought 2 x 2.5 liters of floor paint at 160 DKK each = 320 DKK (approx. $49).
- Wall and Ceiling Paint: We used 5 liters of paint, which cost us 500 DKK (approx. $76).
- Closet Paint: To paint the closet, we spent 800 DKK (approx. $122).
- Base Layer for Closet: For the base layer, we used primer costing 300 DKK (approx. $46).
Total Paint Cost: 1920 DKK (approx. $293)
2. Furniture
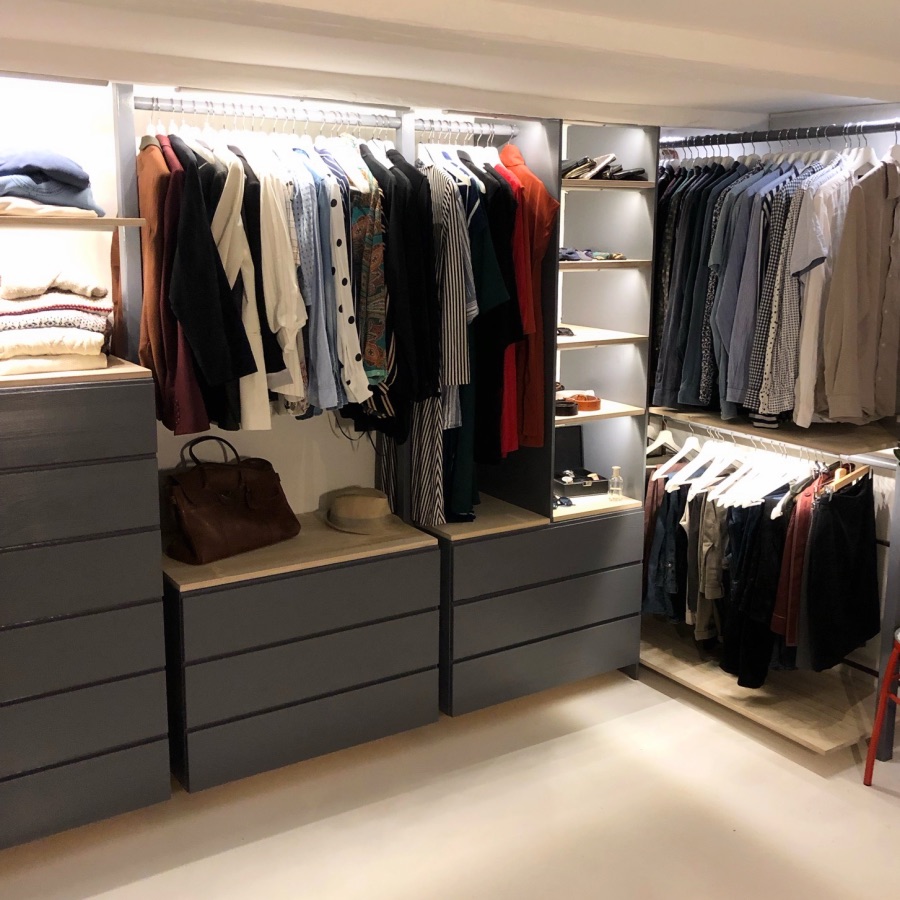
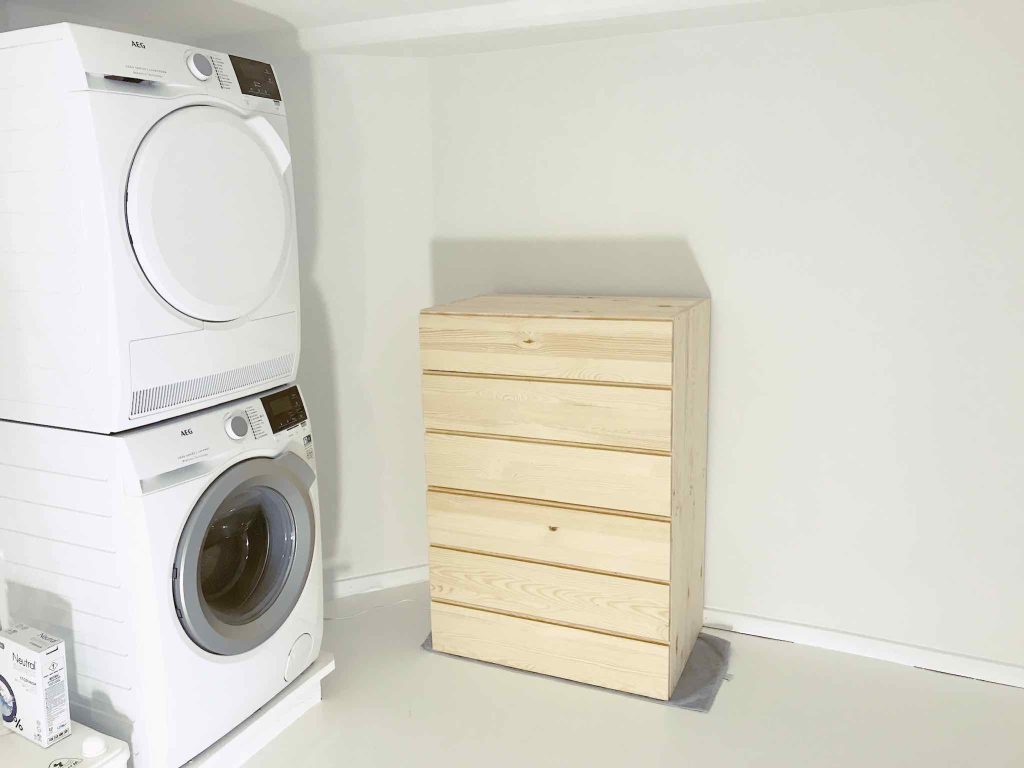
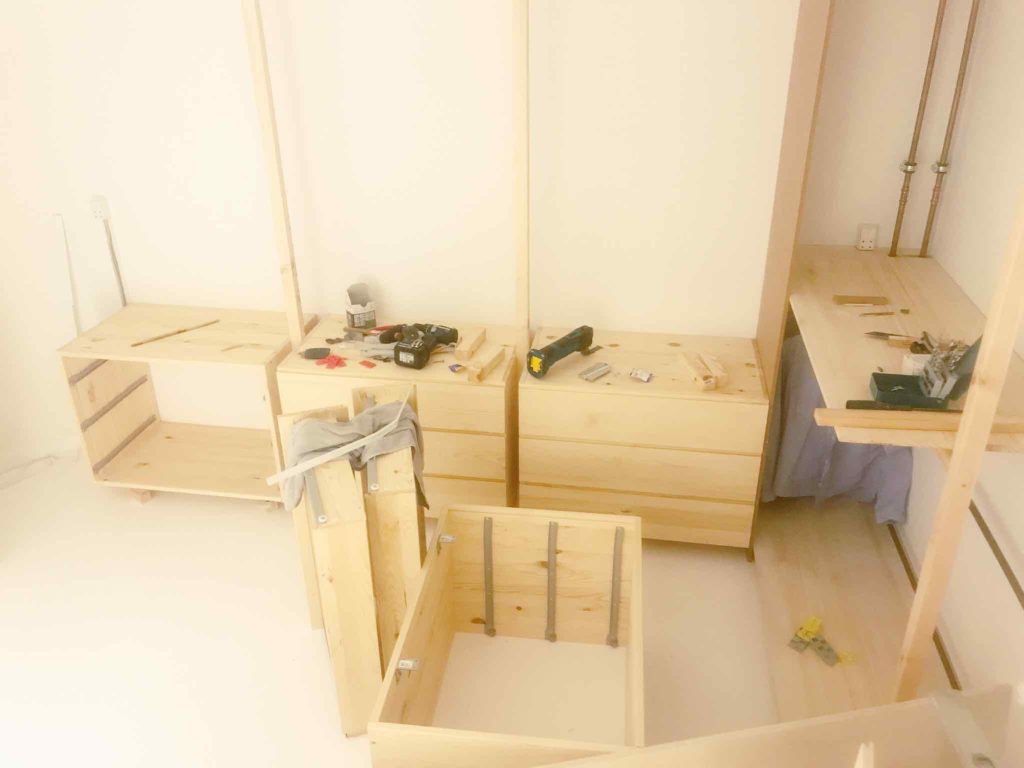
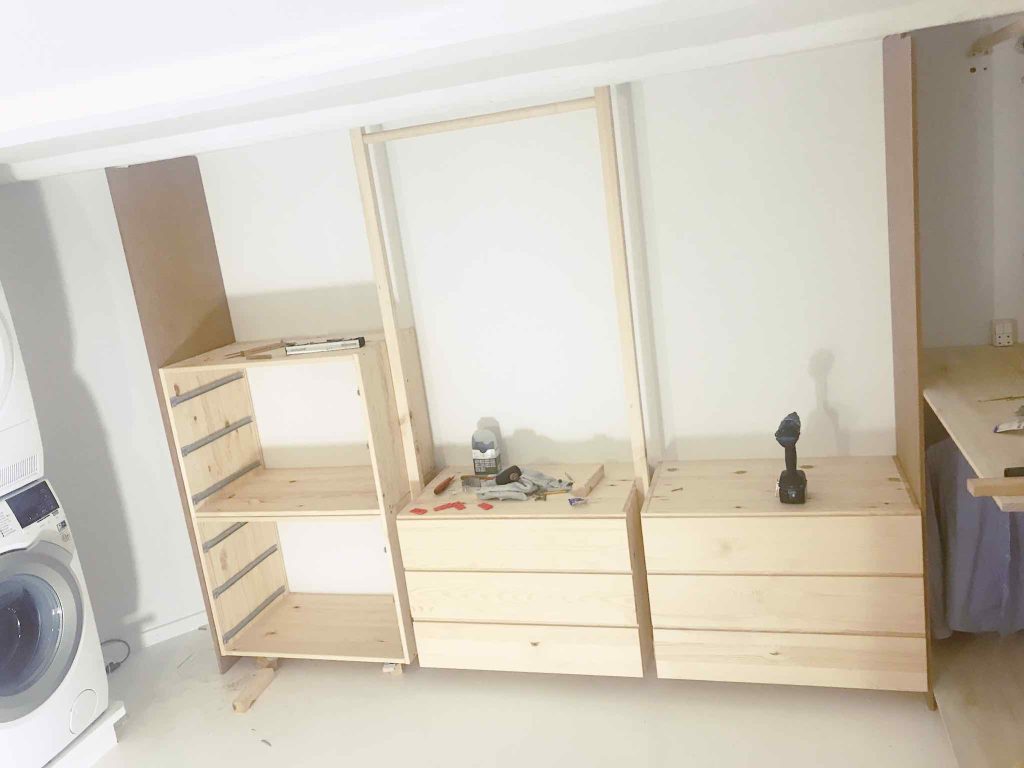
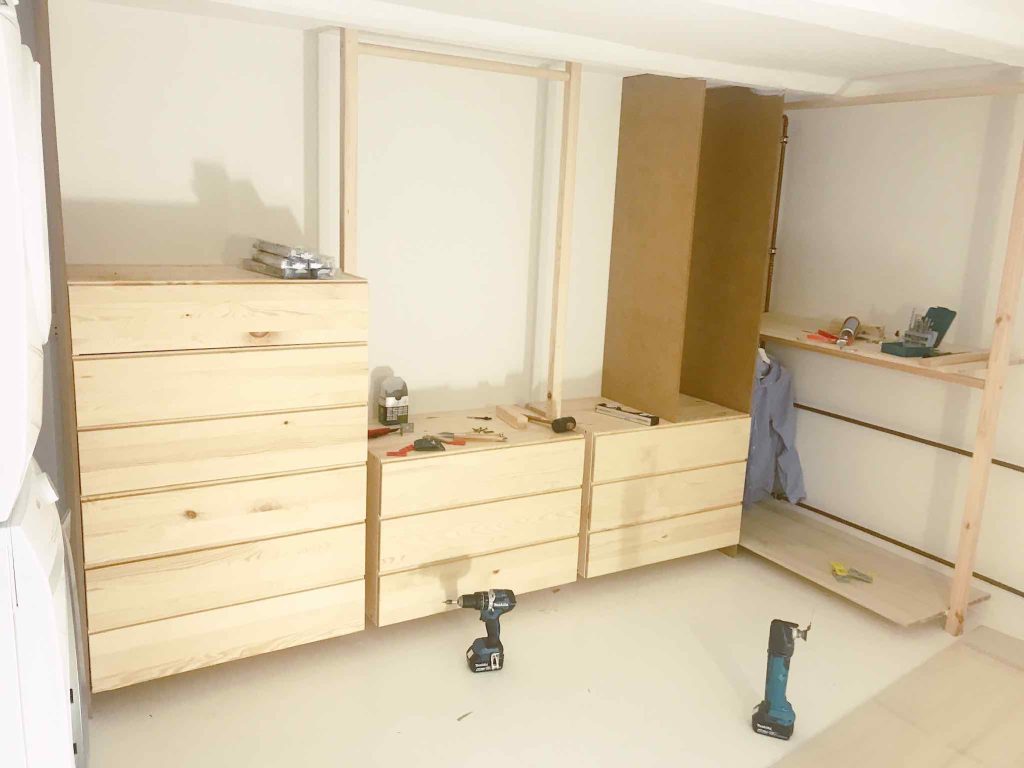
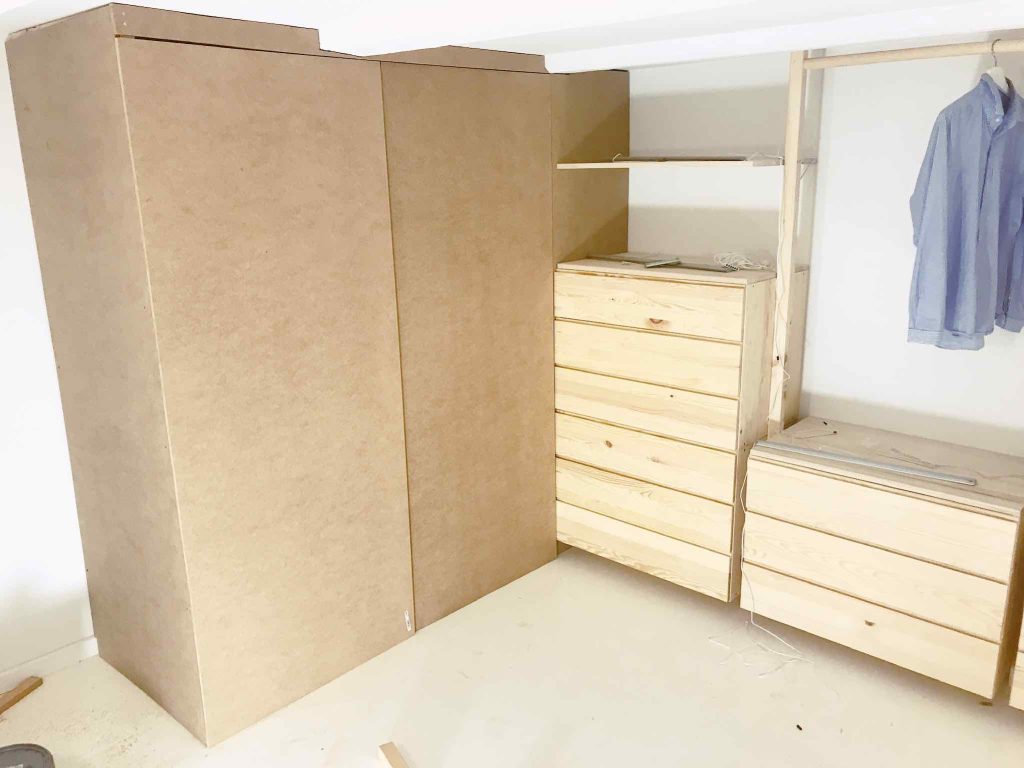
Furniture is often the largest expense when calculating how much to build a walk-in closet. We chose IKEA Ivar drawers and wooden shelves to create a customized storage system:
- 4 x Ivar Drawers: Each drawer cost 600 DKK = 2400 DKK (approx. $366).
- 6 Wooden Shelves from Bauhaus: We used shelves sized 2200 x 500 x 18 mm, each priced at 240 DKK = 1440 DKK (approx. $220).
Total Furniture Cost: 3840 DKK (approx. $586)
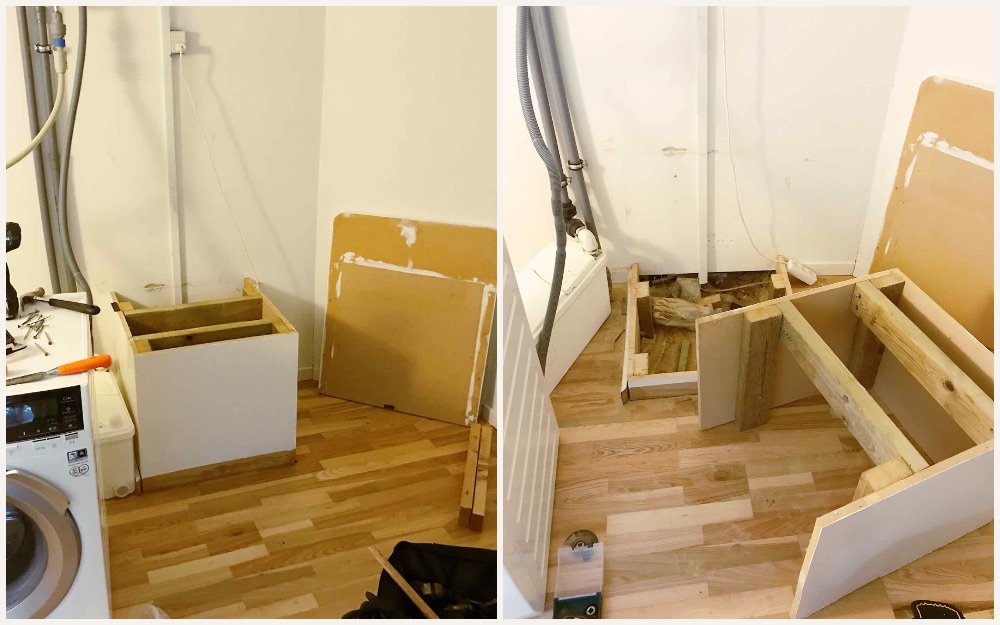
3. Building Materials
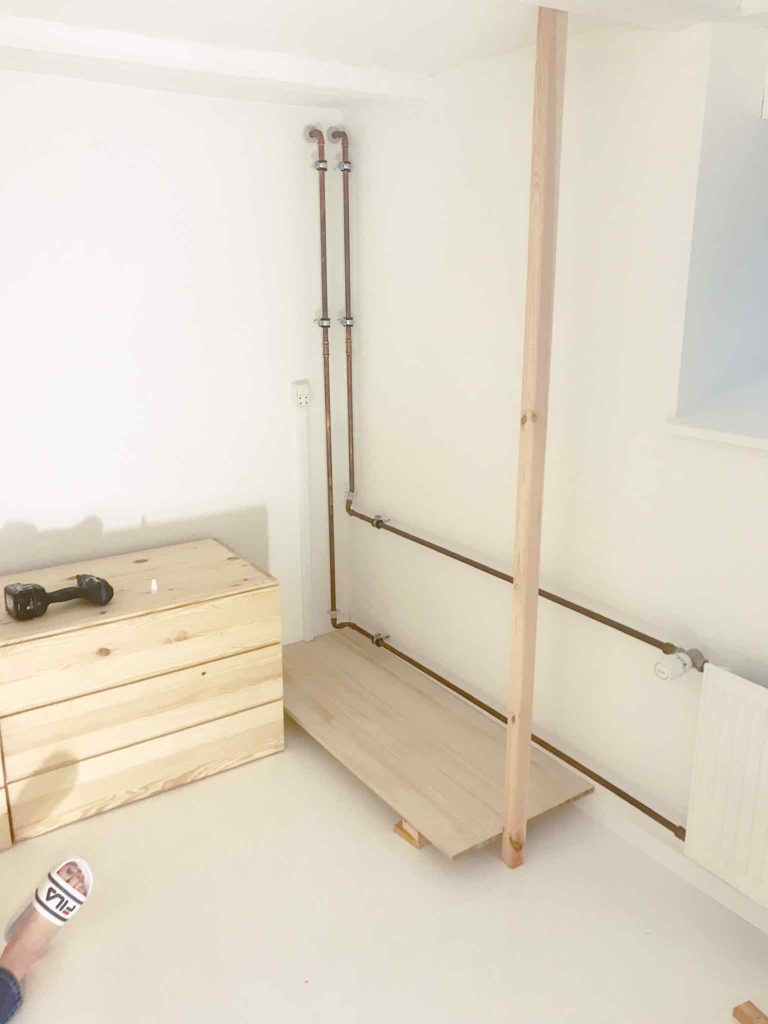
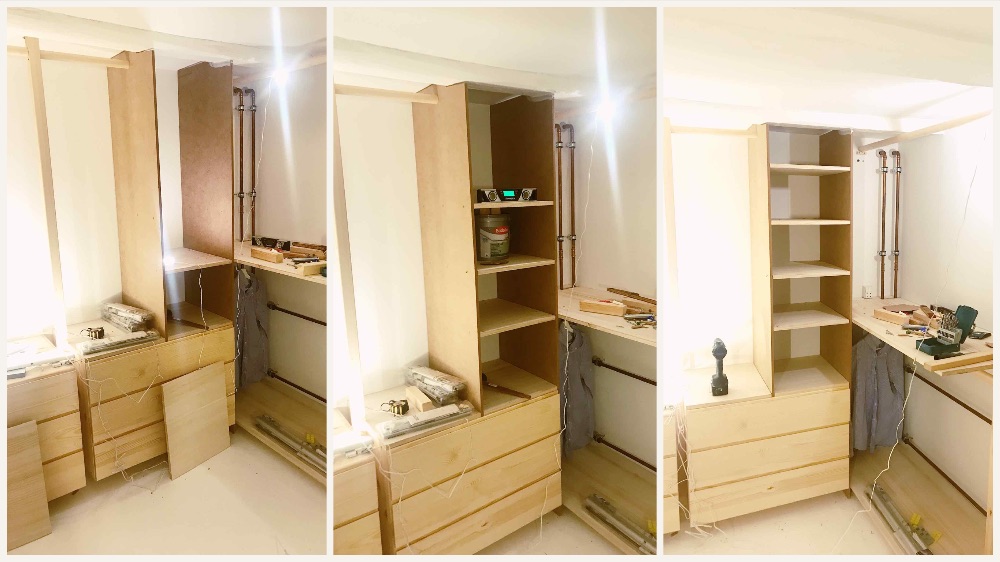
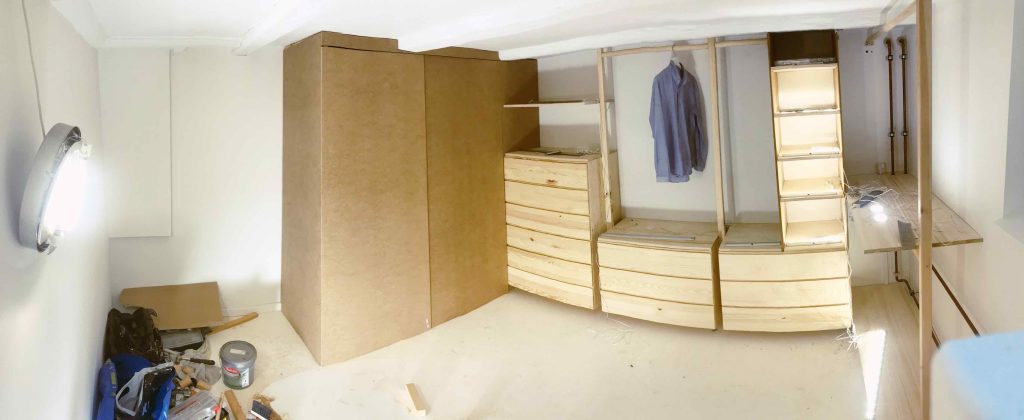
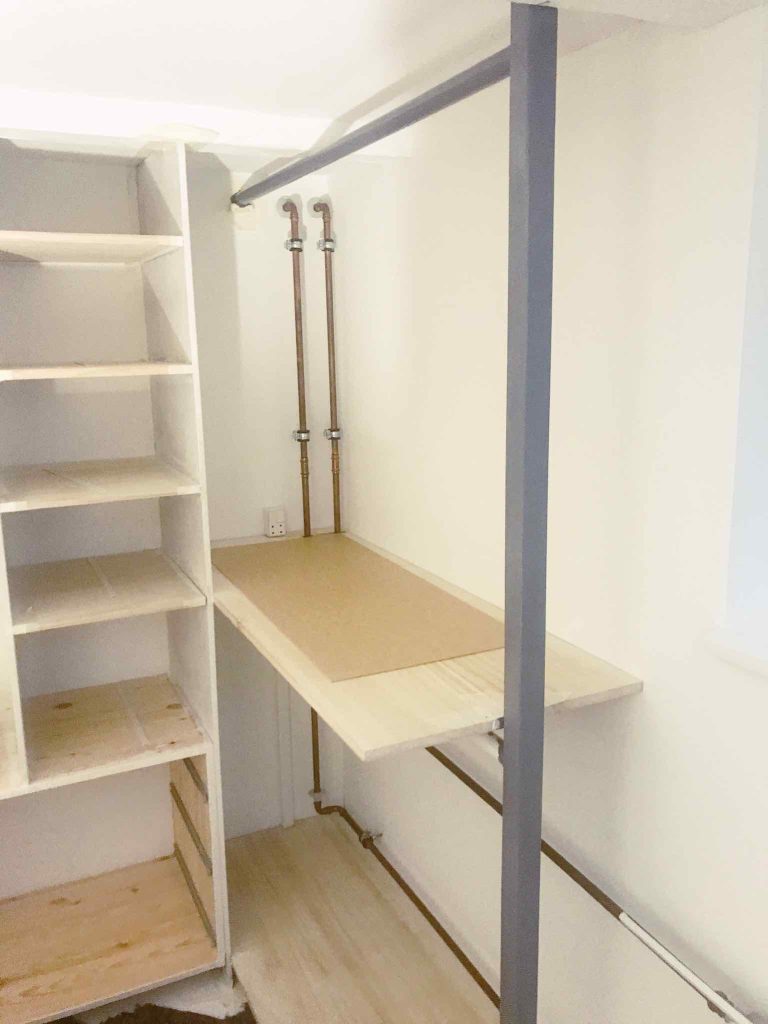
When considering how much to build a walk-in closet, the cost of building materials like wood, dowels, and MDF plates is a significant factor. Here’s what we used:
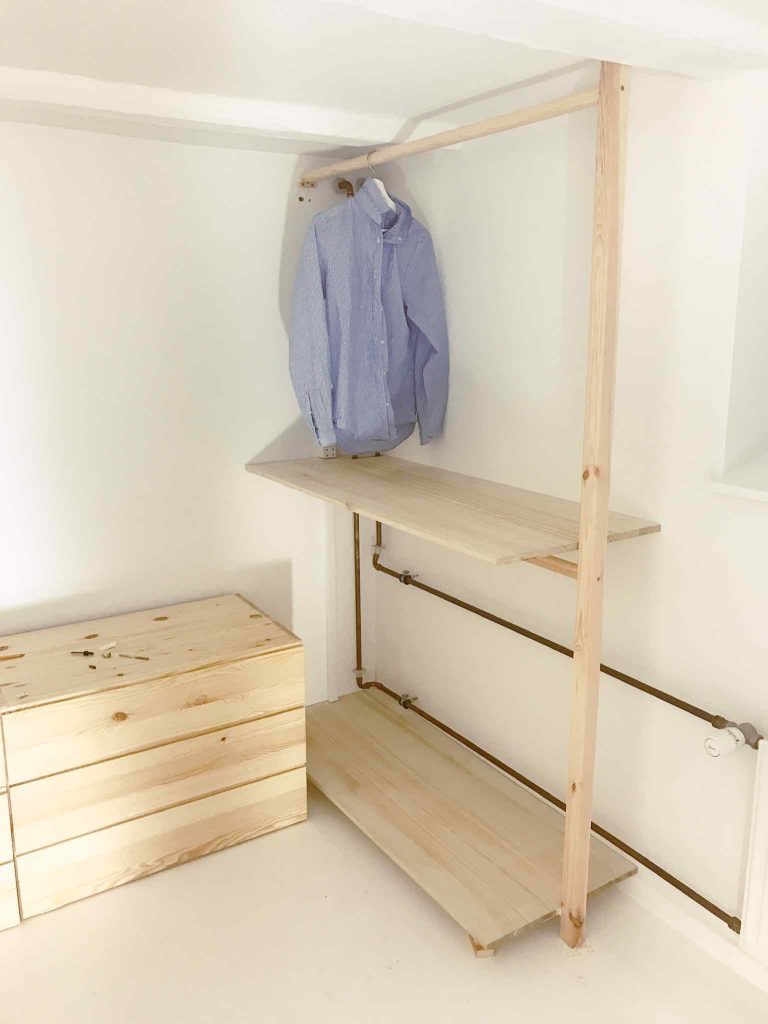
- Round Log for Hangers (4 meters): 300 DKK (approx. $46).
- 3 Pieces of 12 mm MDF Plate (2440 x 1220 mm): Each plate cost 270 DKK = 810 DKK (approx. $124).
- 15 Meters of Wooden Square Dowel Rod: Priced at 15 DKK per meter = 225 DKK (approx. $35).
Total Building Material Cost: 1335 DKK (approx. $205)
4. IKEA Light System – Skydrag LED Light
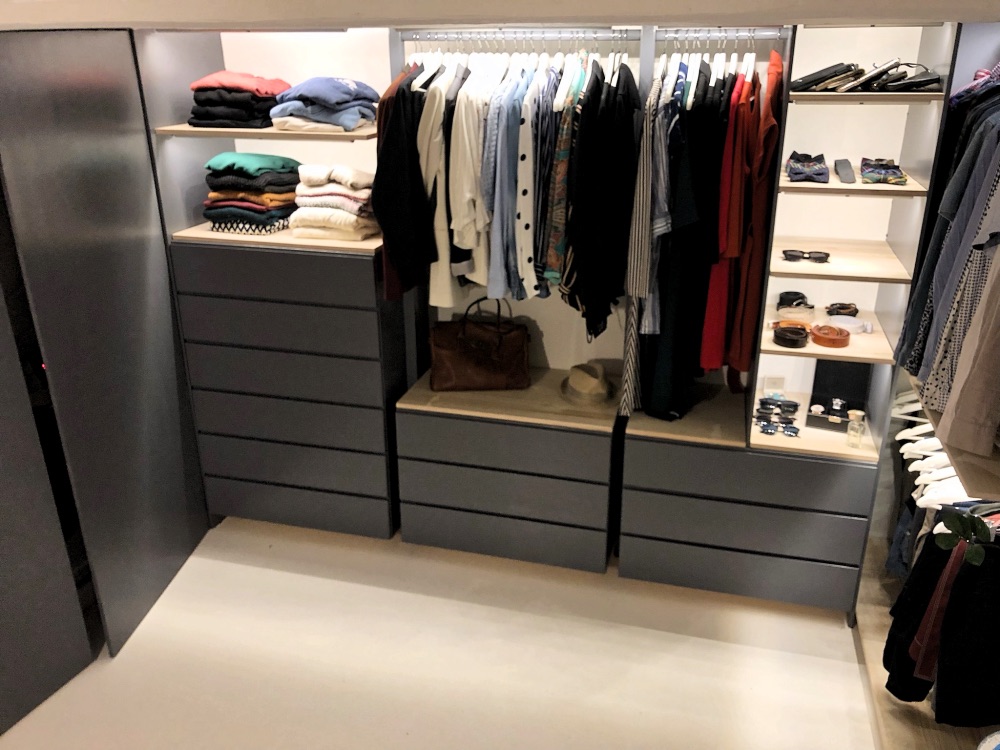
Lighting is often overlooked when budgeting for how much to build a walk-in closet, but it can have a big impact on the final look and functionality. We opted for IKEA’s Skydrag LED light system:
- 5 x 40 cm LED Lights: Each priced at 80 DKK = 200 DKK (approx. $30).
- 5 x 80 cm LED Lights: Each priced at 150 DKK = 750 DKK (approx. $115).
- 2 x Wireless Drivers: Each costing 119 DKK = 238 DKK (approx. $36).
- 1 x Wireless Switch: 99 DKK (approx. $15).
- Package with 2 LED Spots: 99 DKK (approx. $15).
- Plastic Trays to Hide Wires: 99 DKK (approx. $15).
Total Lighting Cost: 1485 DKK (approx. $226)
5. Extras
Small items like screws, wall plugs, and fillers add up when figuring out how much to build a walk-in closet. Here’s what we needed:
- Screws, Wall Plugs, and Iron Angles: 300 DKK (approx. $46).
- Multi Filler: 60 DKK (approx. $7).
Total Extras Cost: 360 DKK (approx. $53)
Grand Total: How Much to Build a Walk-In Closet?
After adding up all these expenses, the total cost to build our walk-in closet came to:
Where to Save and Where to Splurge
If you’re considering how much to build a walk-in closet, there are some areas where you can choose to save or invest more based on your preferences and needs. For example:
- Save on Paint: You can opt for budget-friendly paint options or reuse leftover paint from previous projects.
- Invest in Furniture: Quality drawers and shelves are worth the investment since they’ll serve as the primary storage components in your closet.
- Lighting: While you could opt for cheaper lighting, investing in a quality system like the IKEA Skydrag gives your closet a more professional and polished look.