• hello@redesigndiy.com

Building a walk in closet in basement – step by step

Building a walk in closet in basement

Building a walk in closet in basement – step by step

Building a walk in closet in basement – step by step

Have you always wanted to be building a walk in closet in a basement, but never really dared to do it? Well here is the truth: Everyone can do it, and it is not as difficult as you might think. With common sense, basic tools, a few Ikea drawers combined with some ekstra wood, and this step by step guide, you are ready to start building a walk in closet in a basement in no time! 
Basements closet build progress
0 $
Total price
Estimated time
150 working hours
Difficulty
4/5

Design-phase

If you are interested in seeing all our different design ideas, you can read the article: DIY Small Walk In Closet Designs

Step 1: Empty out the basement

Get rid of everything not necessary in the basement. The tabel we had on the wall was taken down. 
Empty basement

Step 2: Be smart - use the hight to create more floor-space

We decided to stack the tumble-dryer and washing machine on top of each other, to create way more floor-space. This required the already built “stand” to be lowered otherwise the 2 machines wouldn’t fit on top of each other. Using a Multi Cutter Tool the wooden sides where cut down, and the top was put back on. 
Now the 2 machines could be stacked, and whola, a lot of space saved. 
basement-all-empty

Step 3: Paint EVERYTHING

Both walls, ceiling and floor was painted. Always remember to spartle small holes in the walls and ceiling. The floor needs a serious sanding and cleaning before painting it. We used a white floor paint, and we gave it 3 layers of paint on total.
Paint-everything-in-basement

Step 4: Put together drawers

Now that the room was newly painted, the actual build of the closet could start. We put together the Ikea IVAR Drawers to figure of where everything should be positioned in the room. 

Step 5: Positioning everything and start building first shelf

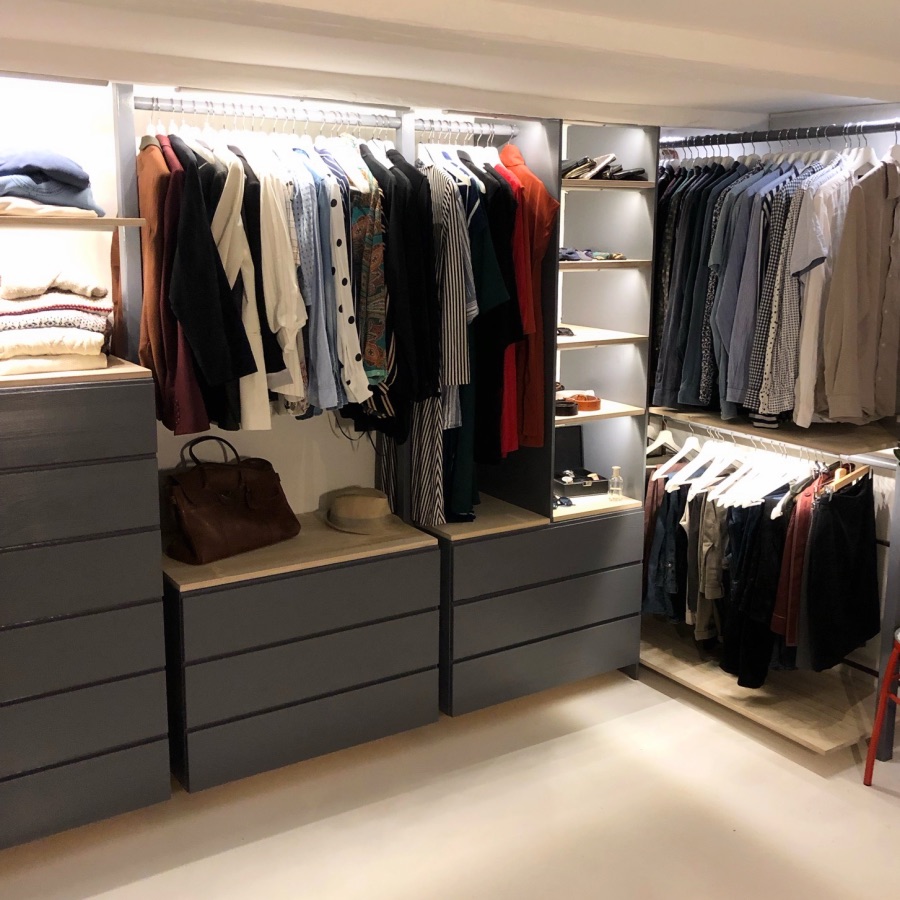
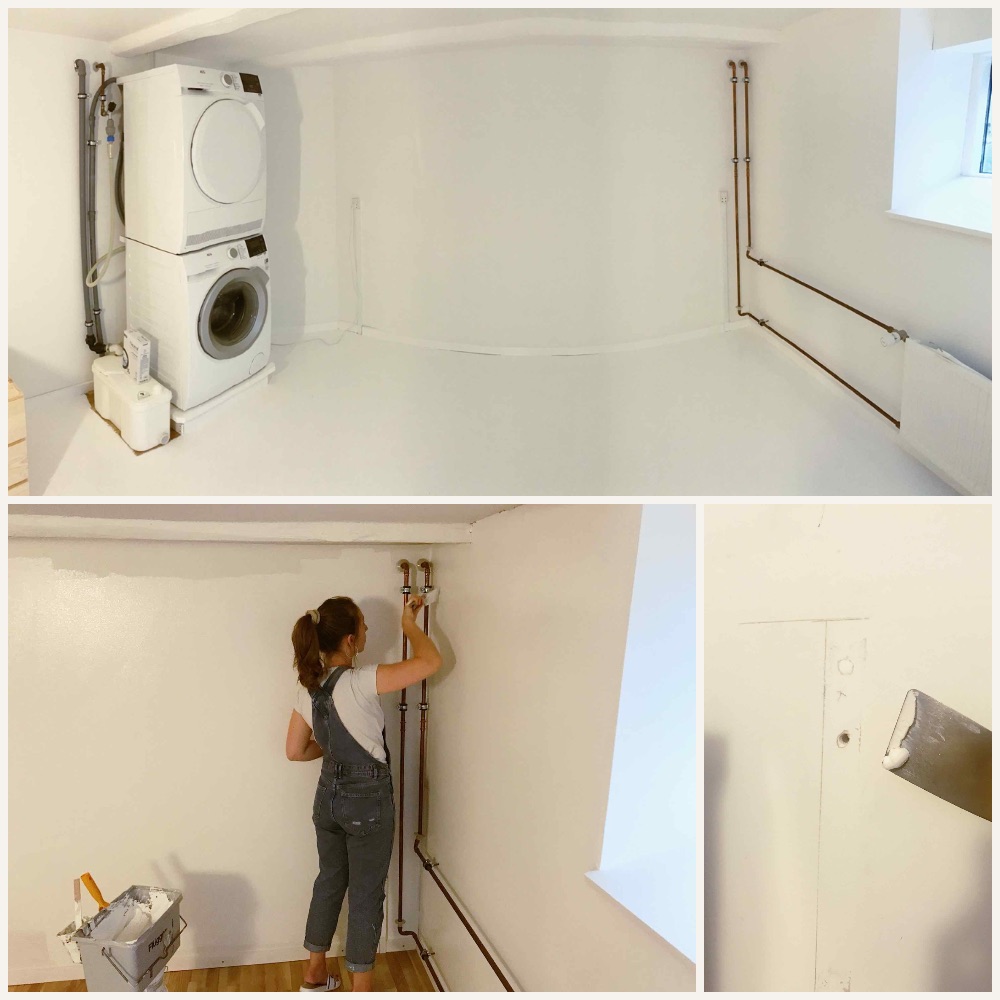
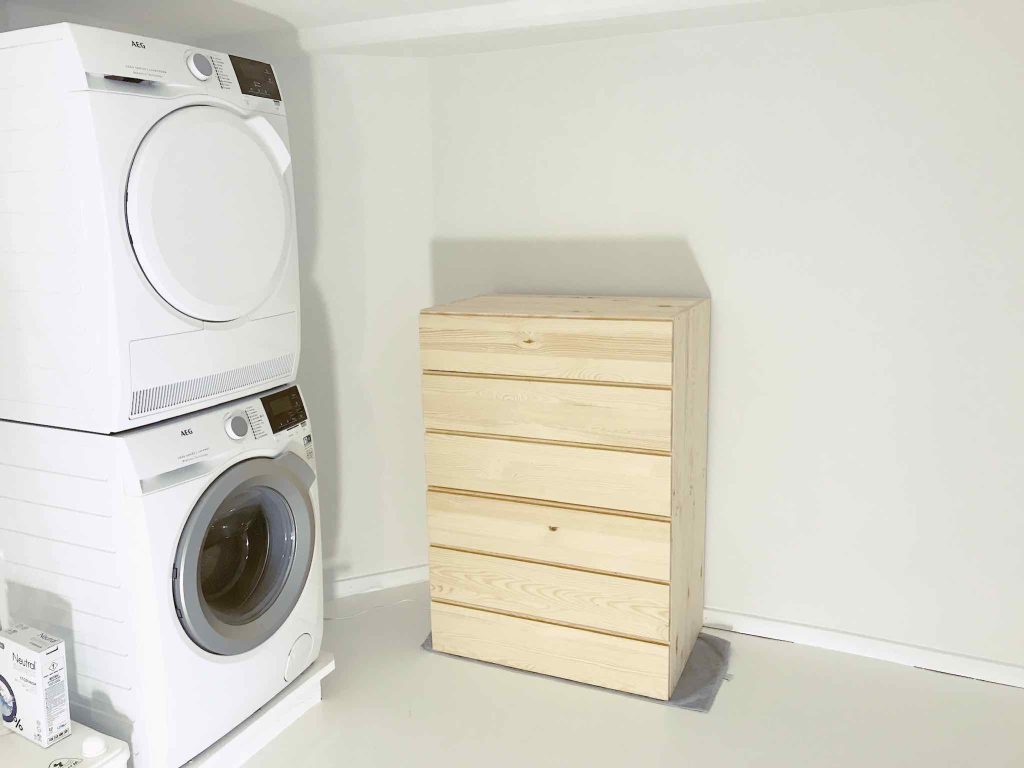
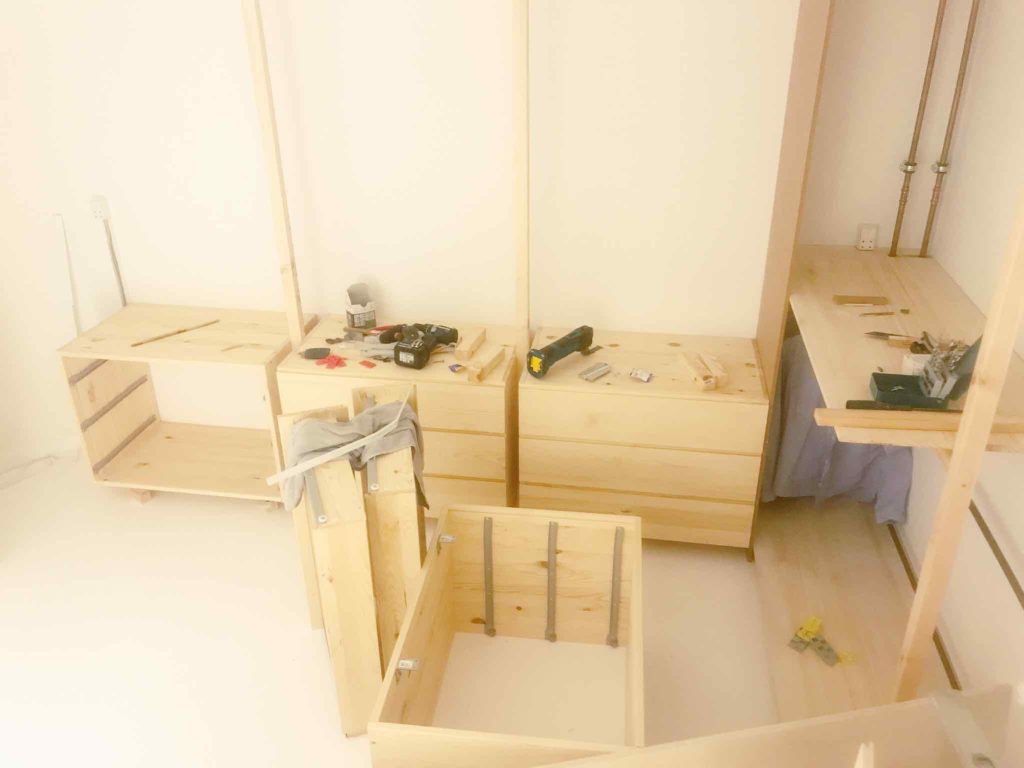
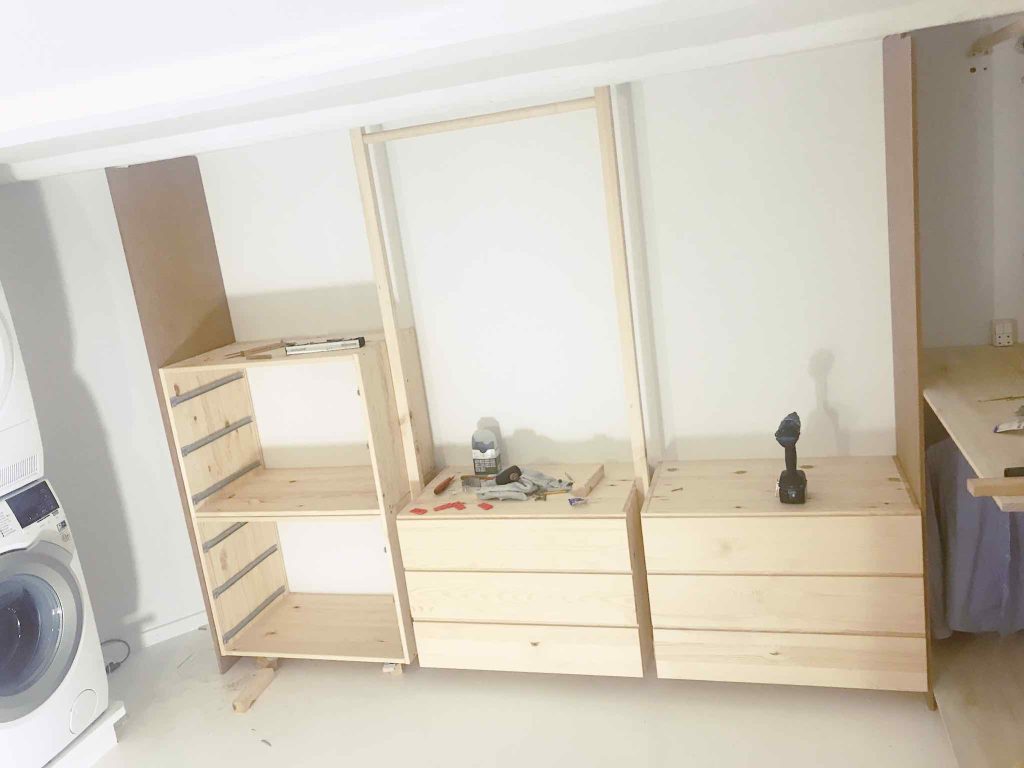
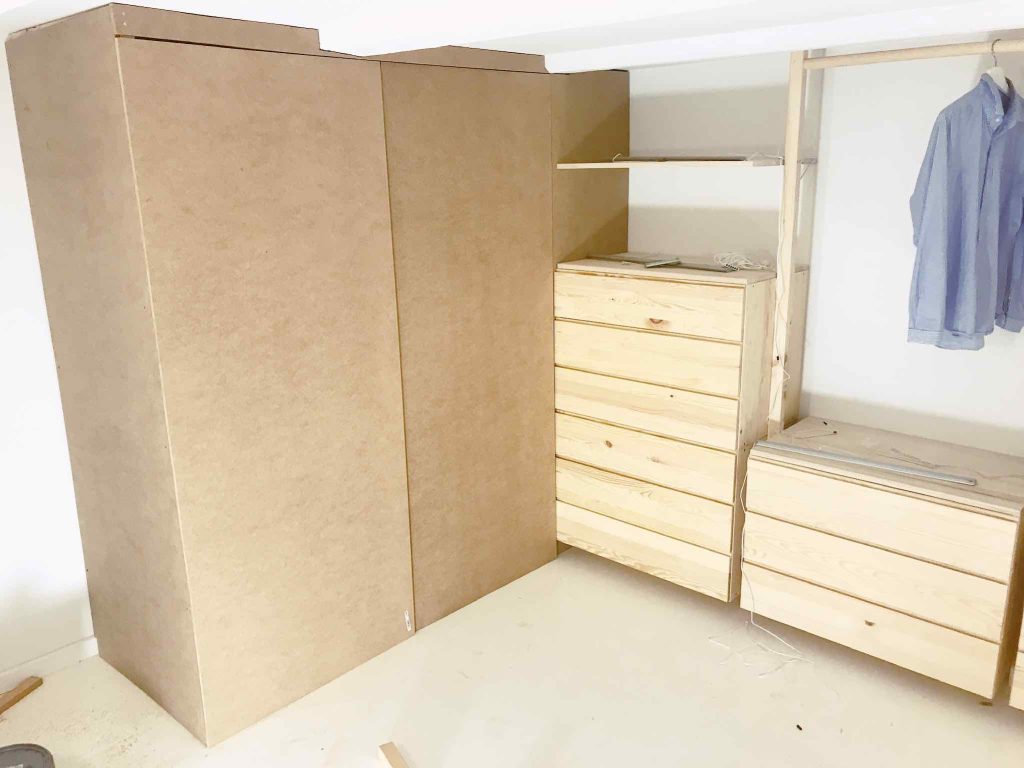
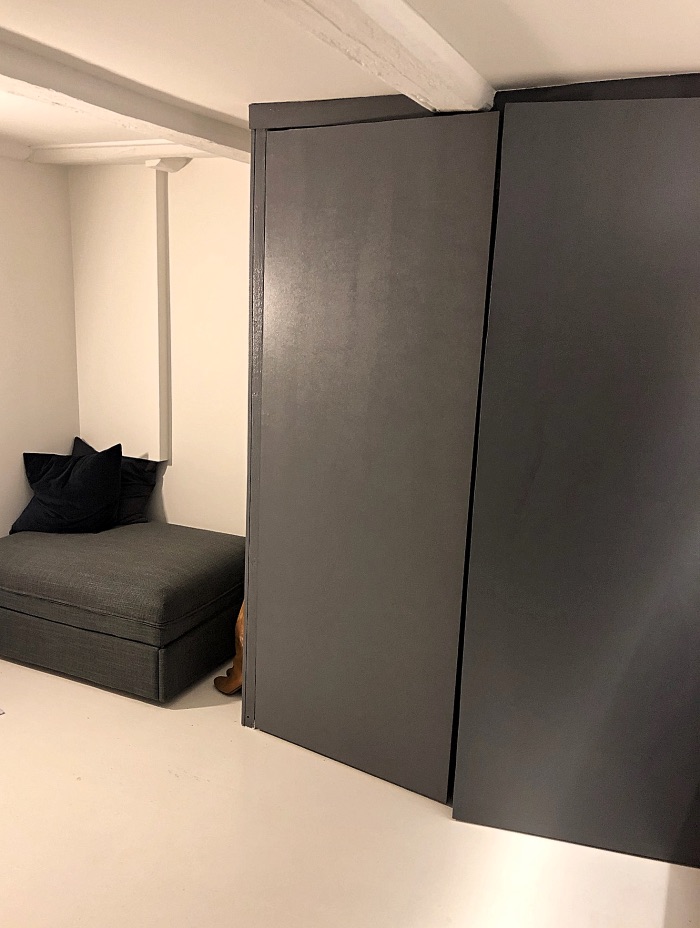
With the right distance set for the IVAR Drawers from the wall (see picture below), the the first part of the closet could be build. 
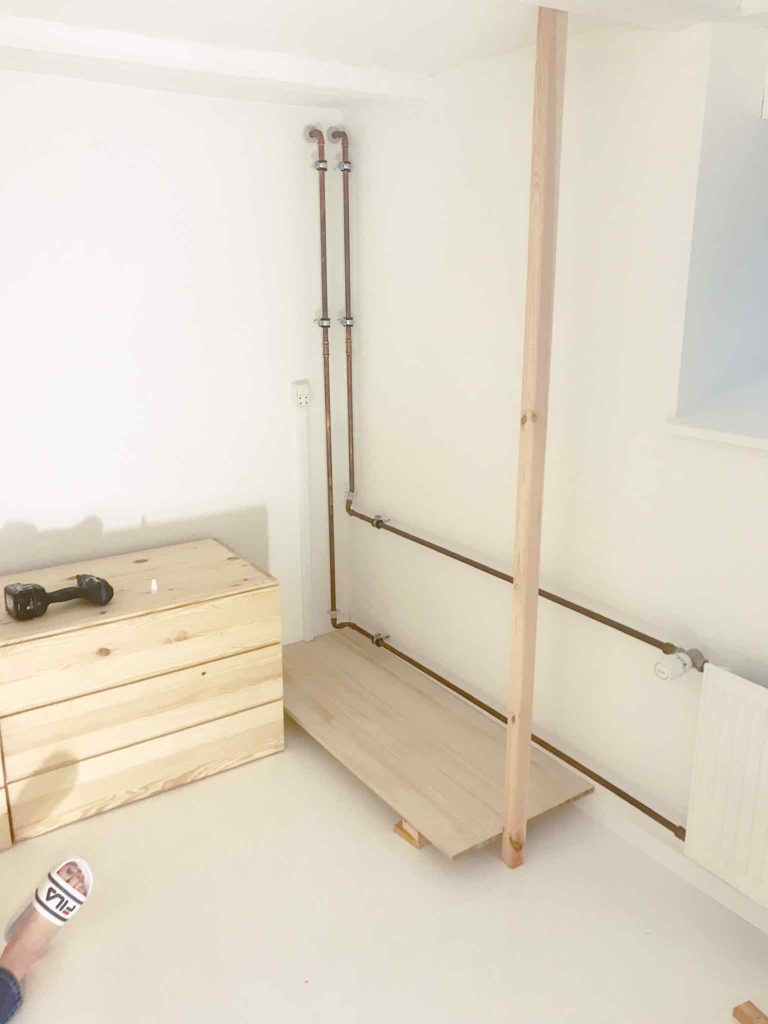
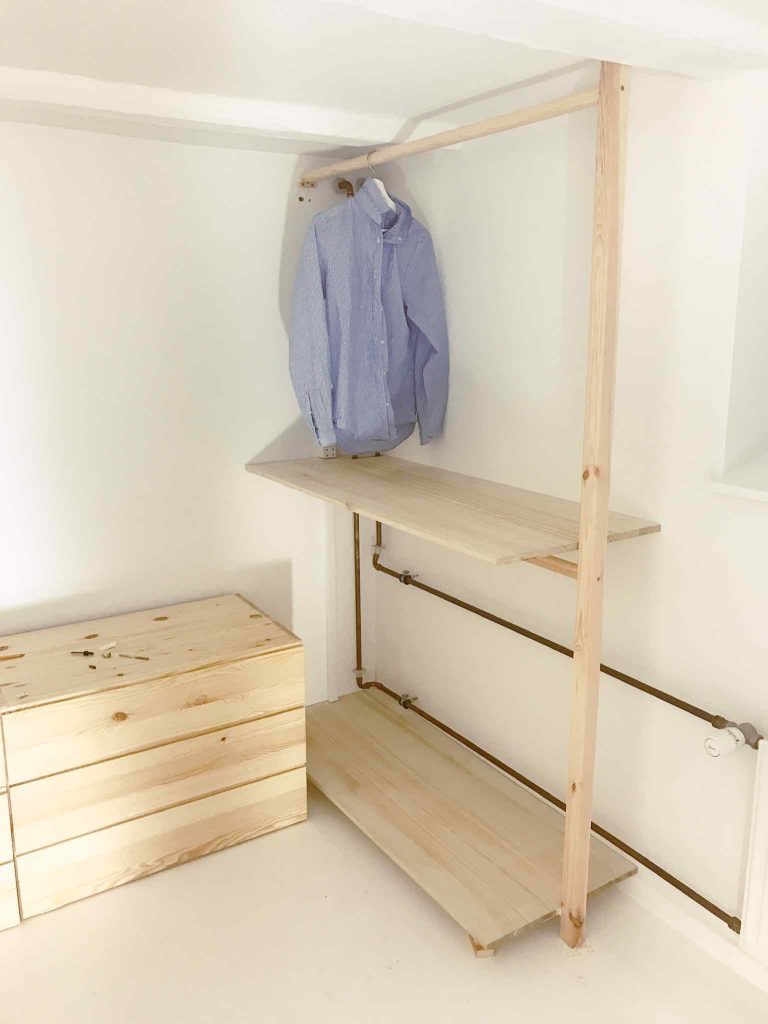
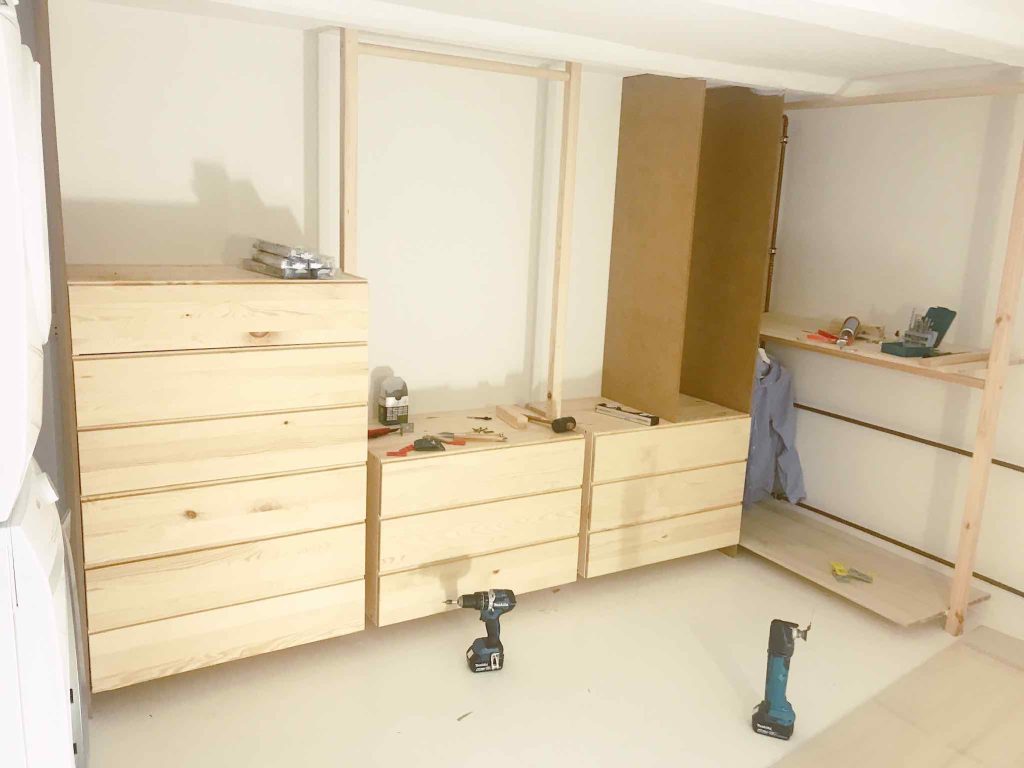
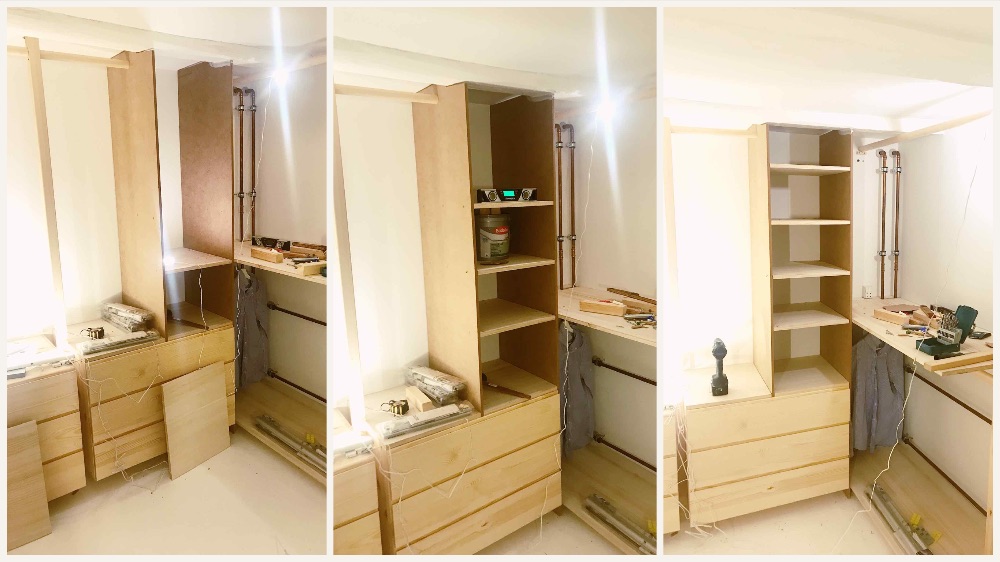
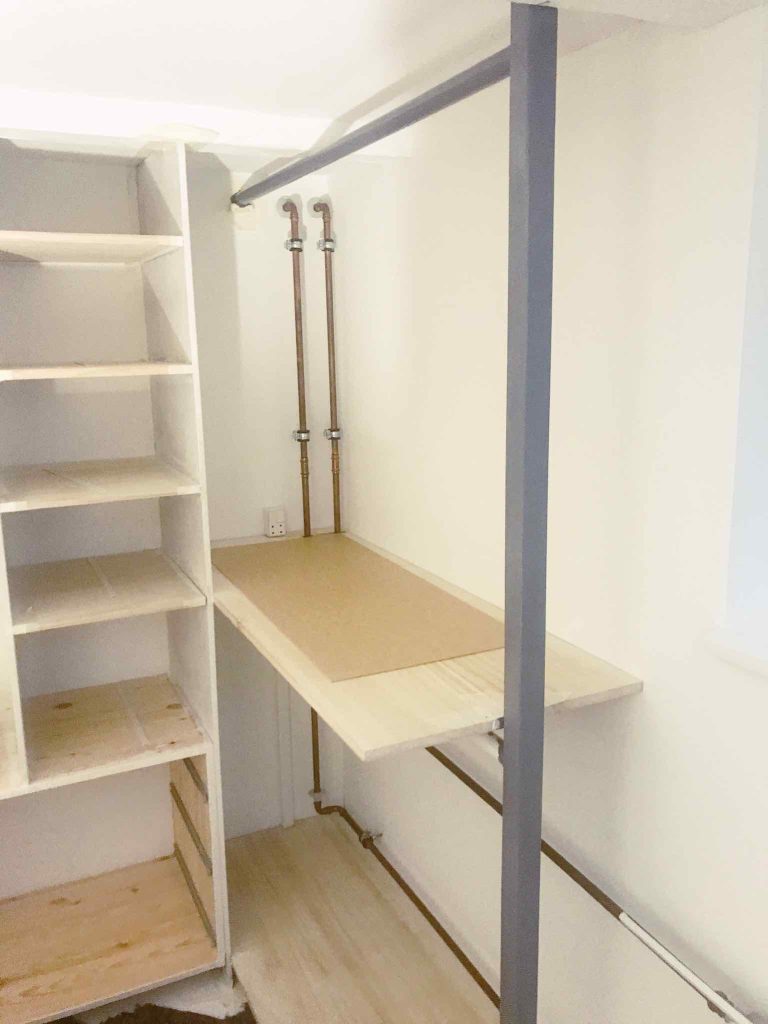
First attaching a pole to one of the beams in the ceiling and to the floor gave us support to create the floating look of the bottom shelf.  The self is resting of the floor-panels all the way around, and then the pole is giving it the proper support to not break or tip over. The pole is attached to the floor by using an iron angle and very small screws, that later is painted to cover it up.
First part og building the walk in closet in basement

Step 6: Build the second floating shelf

We wanted to add another shelf to separate pants from shirts in the closet. To create the floating look aging, we attached small narrow pieces of wood to the wall, together with a iron angle to find support at the pole. 
Shelf for basement

Step 7: Poles for hangers

We attached wooden sticks right under the sealing and right under the highest shelf, to crate to “rooms” where shirts and pants could be hung. 
basement-walk-in-closet-hangers

Step 8: Add small wall

A small wall was added to the already built shelfs. This added some extra support to the top shelf, and since the wall is resting on the floor, it is also used to support the next IVAR Drawers to continue the “floating look”. Iron angles where used to hold the IVAR Drawers to the wall. During the build phase small wooden pieces is holding up the drawers until all support poles where created.  
Small-wall-between-shelf

Step 9: Support pole

Another support pole was added on the left side of the IVAR Drawer. The pole is attached to the beam on the sealing using small iron angles, and the same applies to the floor end of the pole. 
basement-walk-in-closet14

Step 10: Repeat process

Same process continued until all 3 drawers was on a line. 
3-drawers

Step 11: Drawers on top of each other

On the left drawer we wanted to have 2 on top of each other. We added a wall on the left side that is resting on the floor, to add support for the weight of both drawers. 

Step 12: Add middle wall on top of IVAR Drawer

Another wall was added in the middel of the first IVAR Drawer. Iron angles where again perfect for this. 
Ivar-drawer-wall-middle

Step 13: Add small shelves

Between the two walls several shelves where added. Screws form the outside of each wall where screwed in through the wall, and into each shelf. 
Small-shelves

Step 14: Hide washing machine

We wanted to hide the washing machine, and therefor we started covering it up with a wall on the left, and later doors in front of it.
Support for the wall was found by attaching wooden sticks to the existing walls and ceiling.
Wall-creation

Step 15: Cover up with MDF Plates

Afterwards the whole thing was covered up with MDF plates, the two front ones attached with hinges to create doors. 
MDF-plates

Step 16: Create shelves in the corner for optimal space usage

In the corner we created triangle formed shelfs for storgage. 
Corner-shelves

Step 17: Raw build done - now time to spartle

Wuhhuuu, all the raw build was now done! 
Raw-build-done
Now it was time to spartle and sand-paper everything down! 
Spartle-sandpaper

Step 18: Get ready to paint

Add a base layer to all areas thats gonna be painted, and tape everything up!
Base-layer-and-tape
Remember, preparation makes the painting process way easier! 

Step 19: Paint everything twice!

Add paint 2 times to all the surfaces. 
Paint-walk-in-closet
After everything was dry we added pieces of wood on top of the different drawers to match the wood we used to created the shelves. 

Step 20: Add Ikea closet lights.

After the paint was dry, we added Ikea Closet lights to all the different areas. This gives the whole room a super super cool vibe! 
Basement-walk-in-closet-lights
And there we go, all done! 

Final result

Building a walk in closet in basement
Walk-in-clost-basement-result
Walk-in-clost-basement-result-3
redesigndiy.com

Leave a Comment