• hello@redesigndiy.com

Author Archives: redesigndiy.com

DIY Brick Wall

DIY Brick Wall

DIY Brick Wall - 6 easy steps

Have you always wanted to create a DIY brick wall, but never knew where to start? Just follow these 6 simple steps, and you will be the new brick wall master!
DIY Brick Wall - Before-after
Total price
$ 0
Estimated time
5 Working hours
Difficulty
1/5

Step 1: Test your wall

Test if it actually is a brick-wall 🙂 Cover the floor well, cut a little opening in the TAPET, and with a hammer and nail remove the outer layer of the wall. 
Test-for-brick-wall

Step 2: Check larger area

After a succesful first test, we decided to open up a larger area of the wall. 
We liked how the wall looked underneath, and we diced to go for it! 

Step 3: Dust protection

We very quickly realized the process created a lot of dust, so we tried to built a dust-shield, unfortunately without the biggest succes. 
Dust-protection
Do also remember to protect yourself with mask and glasses. 
Nico-Dust-protection

Step 4: Use a hammer-drill and go crazy

After trying to cover for dust, the process started for real. Using a drill-hammer with a flat head made the process a lot quicker! Even though the Hammer Drill is not on ourr list of 11 Most Essential Handyman Tools, it was in this situation AMAZING to have!
Hammer-drill

Step 5: Steel-brushing the DIY Brick Wall

After removing all the out parts of the wall, it was time to brush of the brick wall with a steel brush. This is done to take away the heavy parts of dust.
Steel-brush

Step 6: Wash with water and done!

Wash the wall with water and a plastic brush, and whola, now you have a brick wall. You can also add a “sealing” paint the will make sure the wall doesn’t dust every time someone touches it
DIY Brick Wall

Extra-stories from the loft area

Before we even started the journey with the brick wall, we did a lot of redesigns to our loft-area. We painted the floors, build and office table, and later on we redesigned the while handrail to create a new york loft apartment look. 
Loft-process
If you want to see our floor-painting proces, you can check out this article. 
If you want to see the office-table building proces, you can check out this article. 
And if you wat to see how we created a new work inspired living room / office, you can check out this article. 
Handyman Tools

11 Most Essential Handyman Tools

11 Most Essential Handyman Tools

Every DIY Handyman/Handywomen needs tools! But have you ever wondered what the most essential handyman tools are? Here is our opinion!

1. Drilling machine

First tool every handyman/handywomen should have, is a proper drill! This makes sooooo many things possible. Its worth it investing some money in a proper model. 
With a drill you also need a selections of actual drills and bits, so you have something for every situation and project. 
Drill

2. Folding ruler

You for sure need something to measure with. A folding ruler is a good choice, and a 2 meter long one should be totally fine. 
Folding ruler

3. Saw

A basic handsaw is very useful, of course if you mainly build in wood kind-of materials. 
Saw

4. Hammer

A hammer is very needed, for all kind of tasks

5. Hobby knife

Everyone needs a hobby knife, again for all kind of purrposes. 
Knife

6. Pliers

Different kinds of pliers are very useful to have. A good starrting pliers would be the one on the left of the pictures, since it has several different options for usage 

7. Multi Cutter Tool

Right after the drill, this is WITHOUT DOUBT the most amazing electric machine! You can use it for so many things, and it really does every DIY home project a lot easier! Worth every single penny!
Multi Cutter Tool

8. Circular saw

A circular saw is a most have when cutting plates, and you need a beautiful and straight cut. 

9. Grinder

Somekind of grinder machine is very nive to have. When sanding down floors or other surfaces before painting them, such a machine is wonderful to have. 
Makita

10. Digital level

I love to have a tool for leveling out things. I love an electric one because it gives more precise results. 
Husky-digital-level

11. Organizer box

A box for all you left-over screws, nails and other stuff is amazing to have! You can bring it around and when you need some special screw you probably have something in you mixed collection. 
Building a walk in closet in basement

Building a walk in closet in basement – step by step

Building a walk in closet in basement – step by step

Have you always wanted to be building a walk in closet in a basement, but never really dared to do it? Well here is the truth: Everyone can do it, and it is not as difficult as you might think. With common sense, basic tools, a few Ikea drawers combined with some ekstra wood, and this step by step guide, you are ready to start building a walk in closet in a basement in no time! 
Basements closet build progress
Total price
0 $
Estimated time
150 working hours
Difficulty
4/5

Design-phase

If you are interested in seeing all our different design ideas, you can read the article: DIY Small Walk In Closet Designs

Step 1: Empty out the basement

Get rid of everything not necessary in the basement. The tabel we had on the wall was taken down. 
Empty basement

Step 2: Be smart - use the hight to create more floor-space

We decided to stack the tumble-dryer and washing machine on top of each other, to create way more floor-space. This required the already built “stand” to be lowered otherwise the 2 machines wouldn’t fit on top of each other. Using a Multi Cutter Tool the wooden sides where cut down, and the top was put back on. 
Now the 2 machines could be stacked, and whola, a lot of space saved. 
basement-all-empty

Step 3: Paint EVERYTHING

Both walls, ceiling and floor was painted. Always remember to spartle small holes in the walls and ceiling. The floor needs a serious sanding and cleaning before painting it. We used a white floor paint, and we gave it 3 layers of paint on total.
Paint-everything-in-basement

Step 4: Put together drawers

Now that the room was newly painted, the actual build of the closet could start. We put together the Ikea IVAR Drawers to figure of where everything should be positioned in the room. 

Step 5: Positioning everything and start building first shelf

With the right distance set for the IVAR Drawers from the wall (see picture below), the the first part of the closet could be build. 
First attaching a pole to one of the beams in the ceiling and to the floor gave us support to create the floating look of the bottom shelf.  The self is resting of the floor-panels all the way around, and then the pole is giving it the proper support to not break or tip over. The pole is attached to the floor by using an iron angle and very small screws, that later is painted to cover it up.
First part og building the walk in closet in basement

Step 6: Build the second floating shelf

We wanted to add another shelf to separate pants from shirts in the closet. To create the floating look aging, we attached small narrow pieces of wood to the wall, together with a iron angle to find support at the pole. 
Shelf for basement

Step 7: Poles for hangers

We attached wooden sticks right under the sealing and right under the highest shelf, to crate to “rooms” where shirts and pants could be hung. 
basement-walk-in-closet-hangers

Step 8: Add small wall

A small wall was added to the already built shelfs. This added some extra support to the top shelf, and since the wall is resting on the floor, it is also used to support the next IVAR Drawers to continue the “floating look”. Iron angles where used to hold the IVAR Drawers to the wall. During the build phase small wooden pieces is holding up the drawers until all support poles where created.  
Small-wall-between-shelf

Step 9: Support pole

Another support pole was added on the left side of the IVAR Drawer. The pole is attached to the beam on the sealing using small iron angles, and the same applies to the floor end of the pole. 
basement-walk-in-closet14

Step 10: Repeat process

Same process continued until all 3 drawers was on a line. 
3-drawers

Step 11: Drawers on top of each other

On the left drawer we wanted to have 2 on top of each other. We added a wall on the left side that is resting on the floor, to add support for the weight of both drawers. 

Step 12: Add middle wall on top of IVAR Drawer

Another wall was added in the middel of the first IVAR Drawer. Iron angles where again perfect for this. 
Ivar-drawer-wall-middle

Step 13: Add small shelves

Between the two walls several shelves where added. Screws form the outside of each wall where screwed in through the wall, and into each shelf. 
Small-shelves

Step 14: Hide washing machine

We wanted to hide the washing machine, and therefor we started covering it up with a wall on the left, and later doors in front of it.
Support for the wall was found by attaching wooden sticks to the existing walls and ceiling.
Wall-creation

Step 15: Cover up with MDF Plates

Afterwards the whole thing was covered up with MDF plates, the two front ones attached with hinges to create doors. 
MDF-plates

Step 16: Create shelves in the corner for optimal space usage

In the corner we created triangle formed shelfs for storgage. 
Corner-shelves

Step 17: Raw build done - now time to spartle

Wuhhuuu, all the raw build was now done! 
Raw-build-done
Now it was time to spartle and sand-paper everything down! 
Spartle-sandpaper

Step 18: Get ready to paint

Add a base layer to all areas thats gonna be painted, and tape everything up!
Base-layer-and-tape
Remember, preparation makes the painting process way easier! 

Step 19: Paint everything twice!

Add paint 2 times to all the surfaces. 
Paint-walk-in-closet
After everything was dry we added pieces of wood on top of the different drawers to match the wood we used to created the shelves. 

Step 20: Add Ikea closet lights.

After the paint was dry, we added Ikea Closet lights to all the different areas. This gives the whole room a super super cool vibe! 
Basement-walk-in-closet-lights
And there we go, all done! 

Final result

Building a walk in closet in basement
Walk-in-clost-basement-result
Walk-in-clost-basement-result-3
Floor Plan

Apartment Floor Plan

Apartment Floor Plan

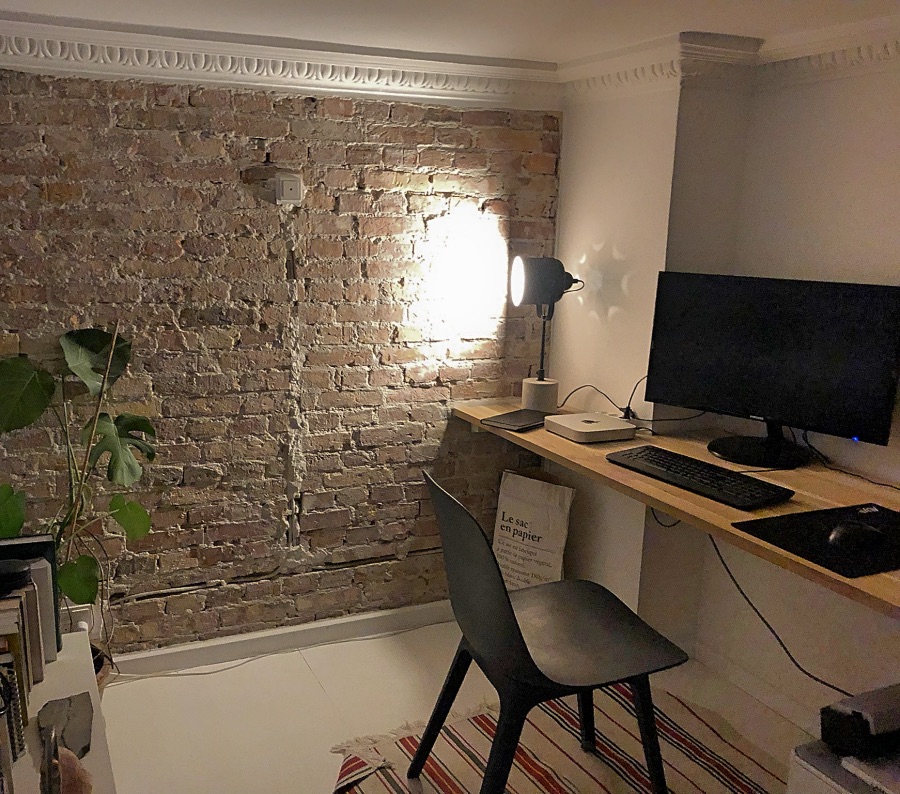
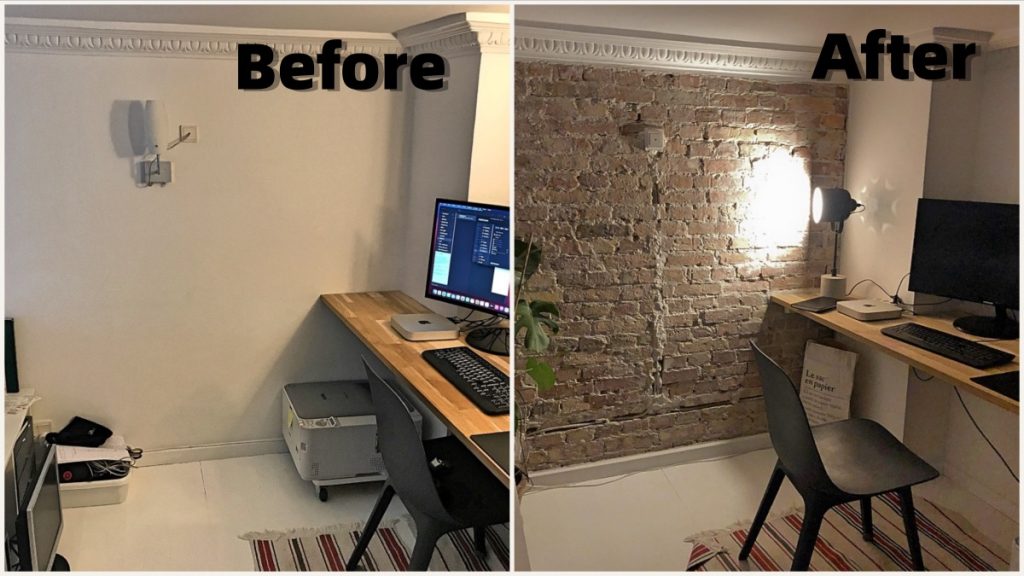
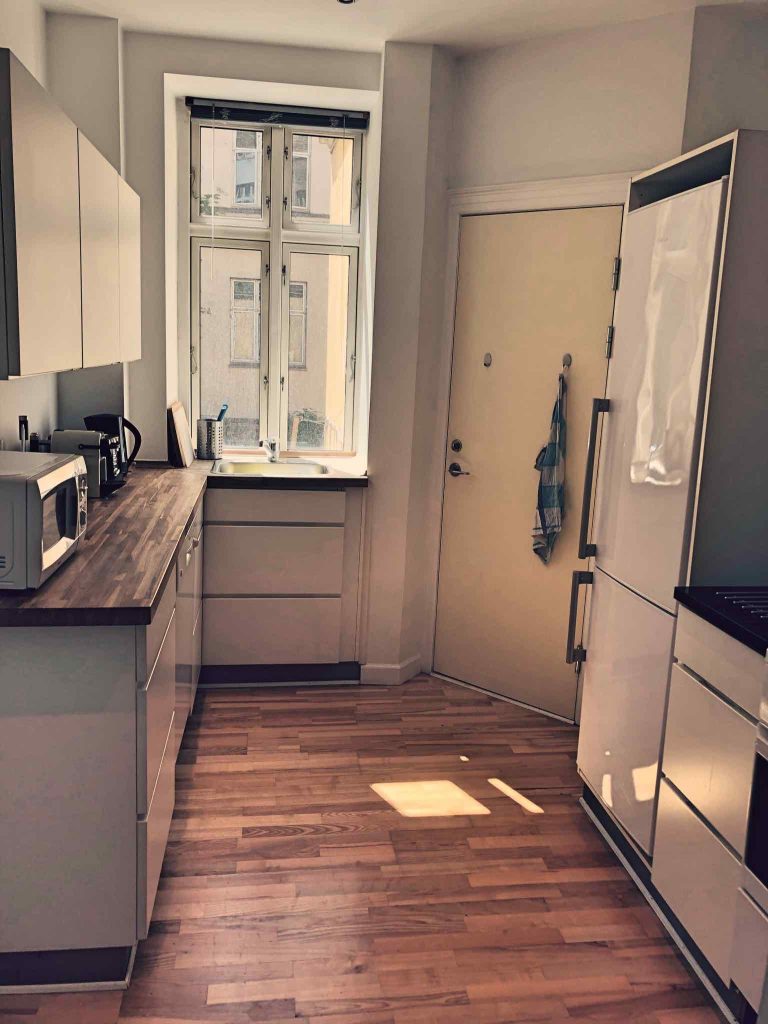
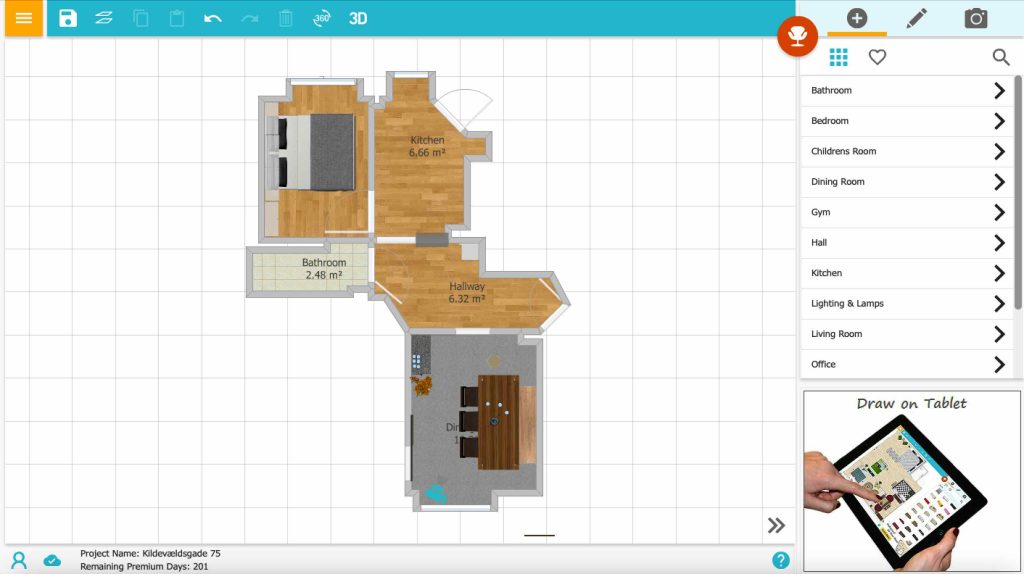
The apartment we are currently renovating, has a very funky layout. If you check the floor plan underneath, you can see what we mean. 
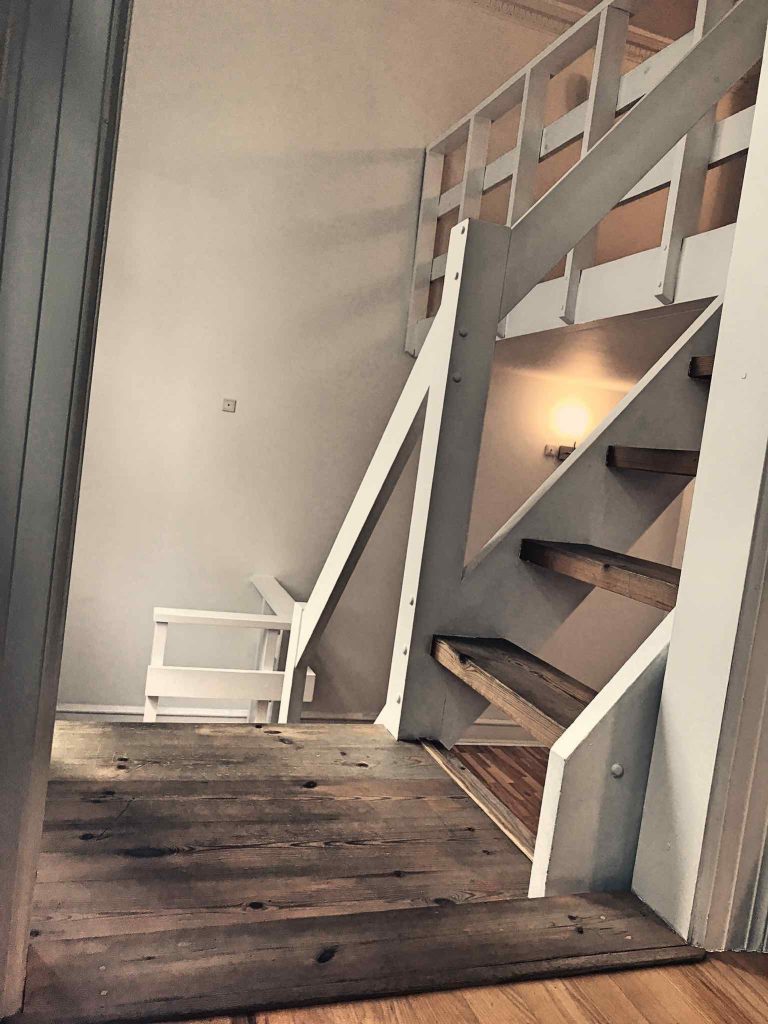
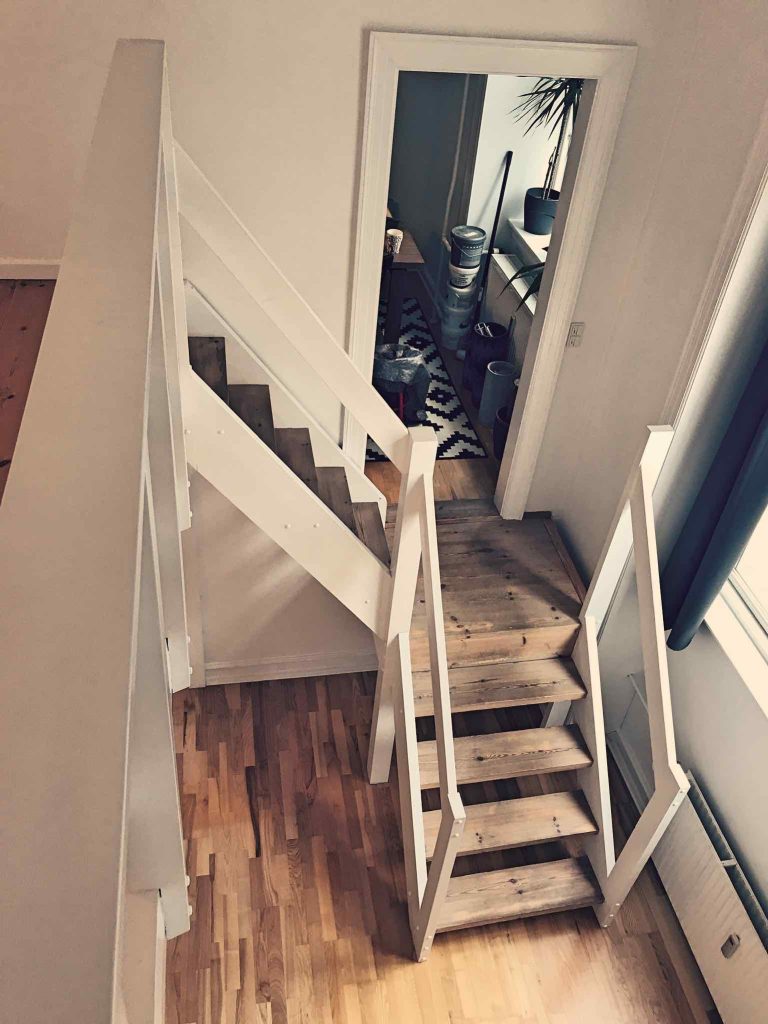
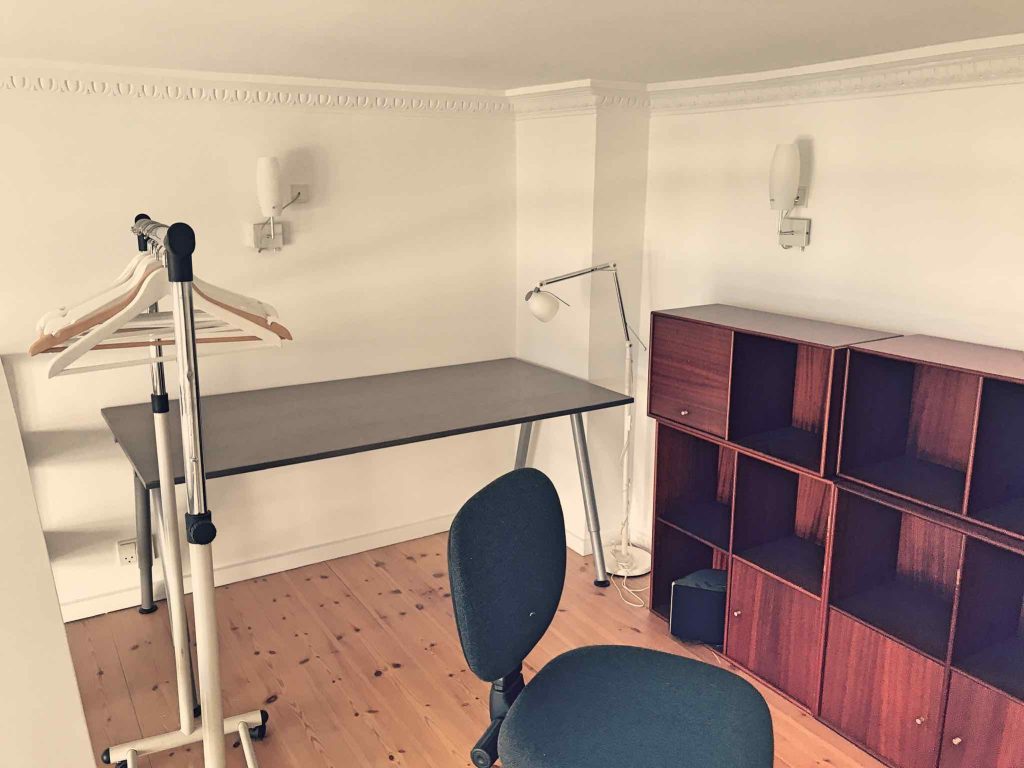
The entrance, toilet, kitchen, bedroom and dinning room is in one leve, the living room is about 70 centimeters lower than the entrance floor. Since the living room is more than 4 meters from the floor to the top ceiling, and to utilize that room the best, the previous owners had build a loft area, the give the impression of the living room actually being 2 different floors, where the loft floor is about 1 mete higher than the entrance floor. 
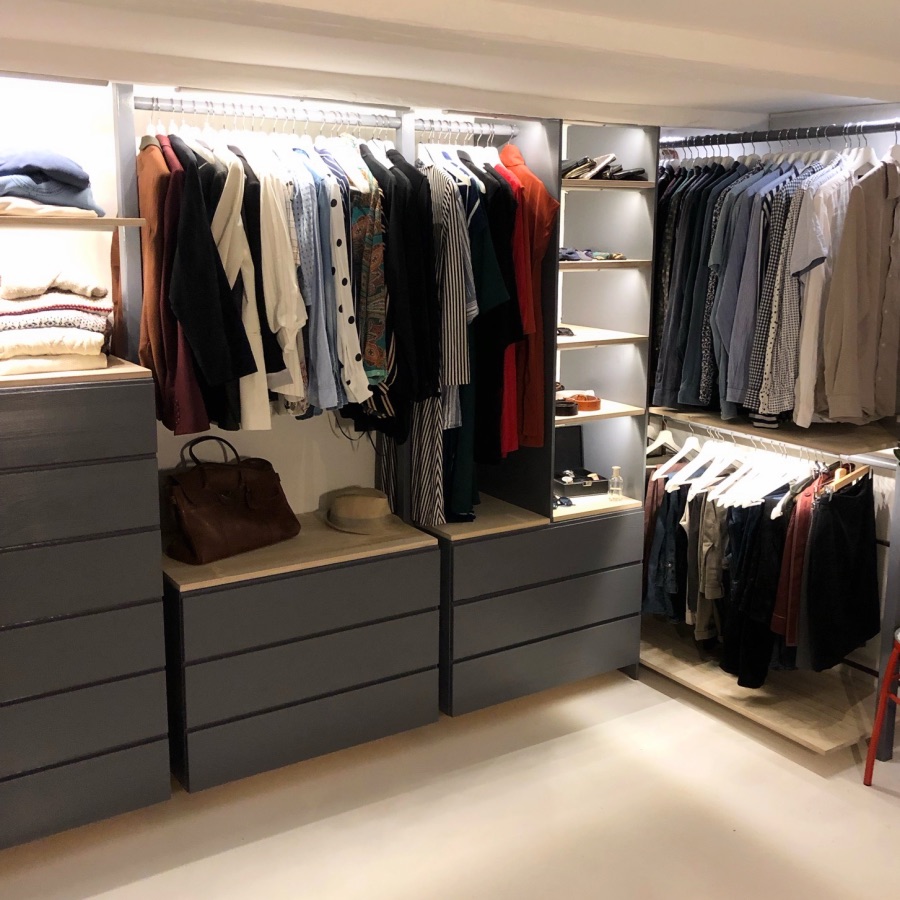
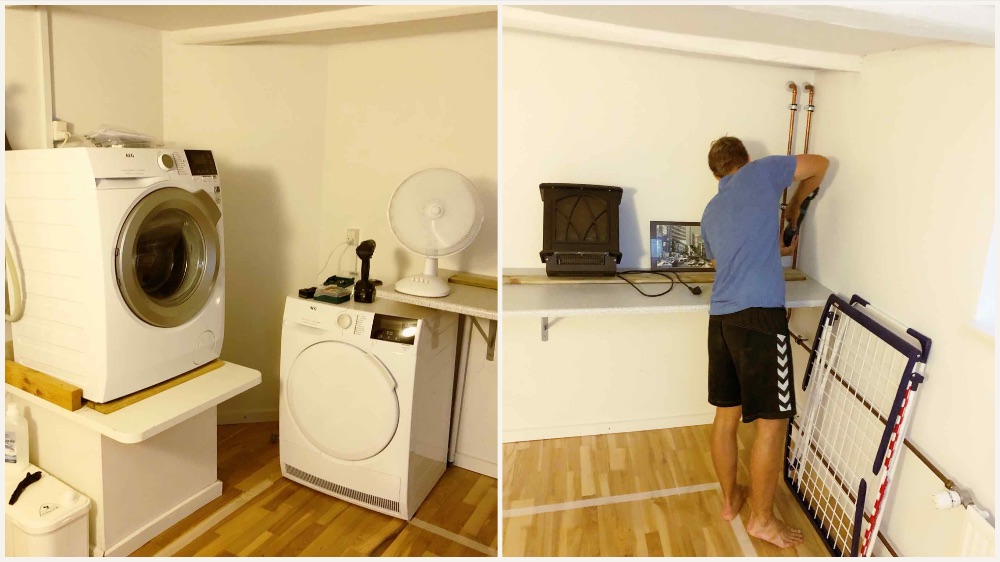
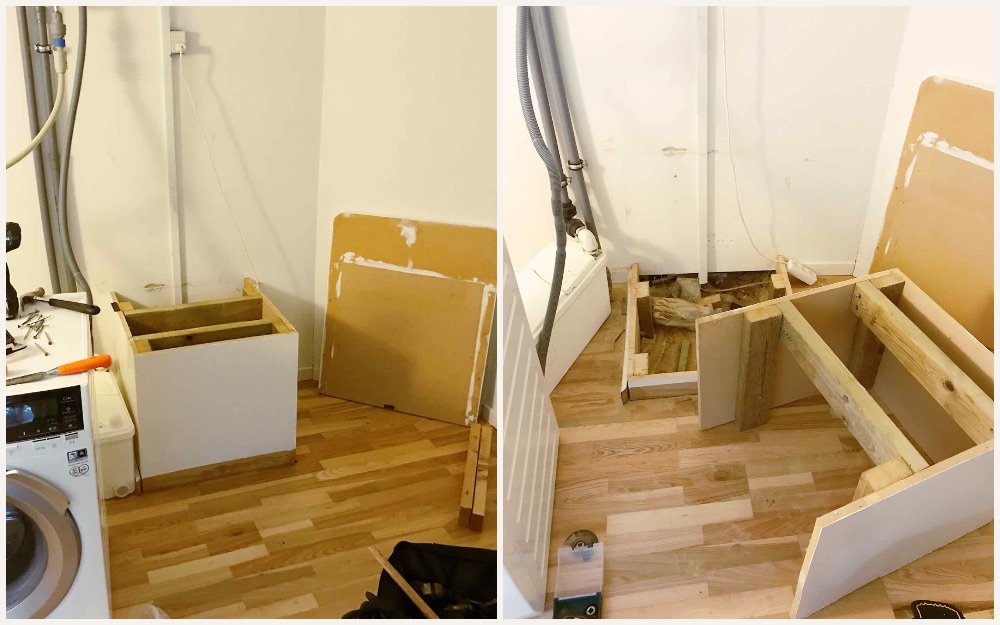
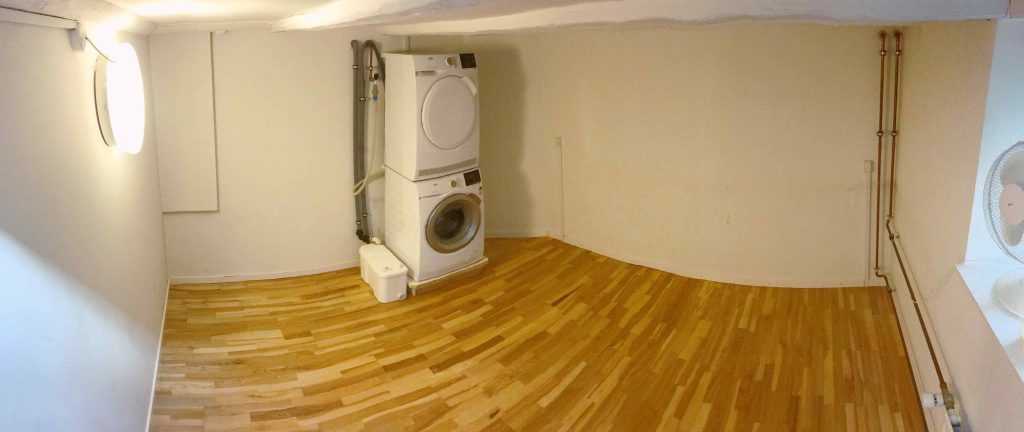
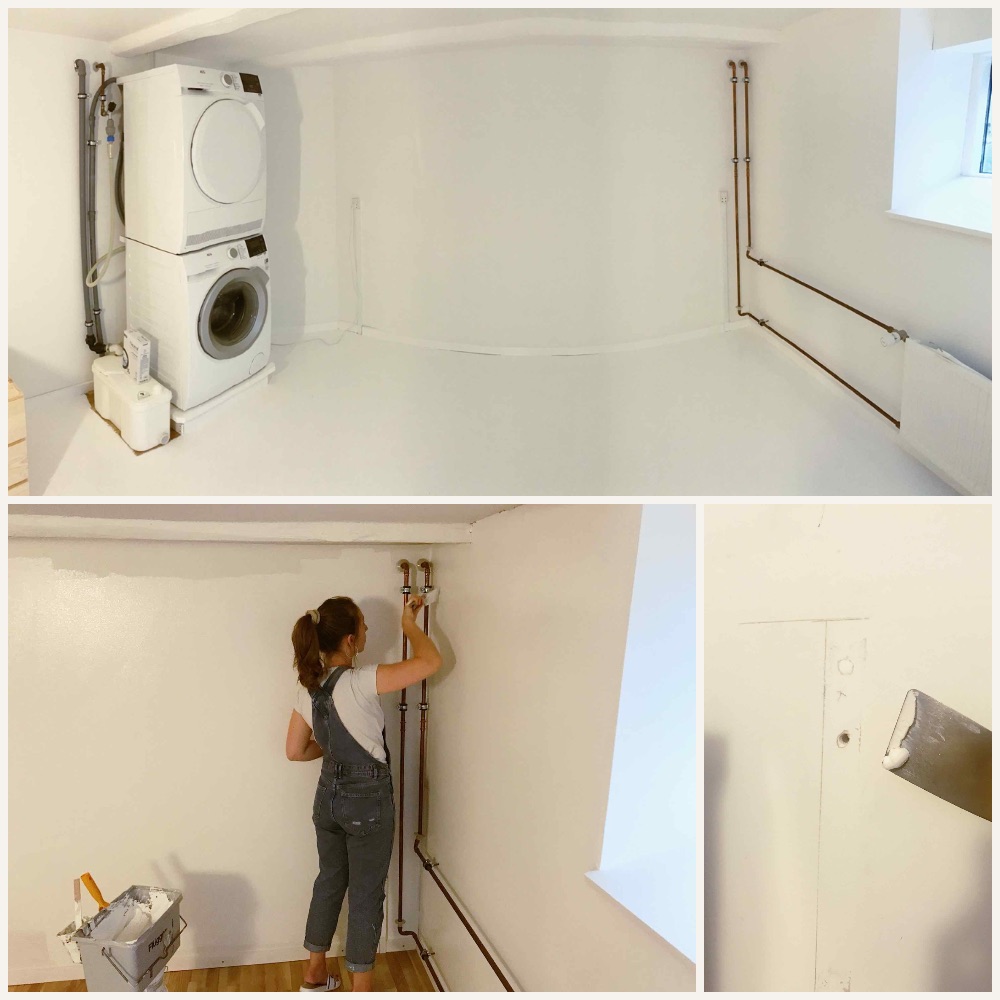
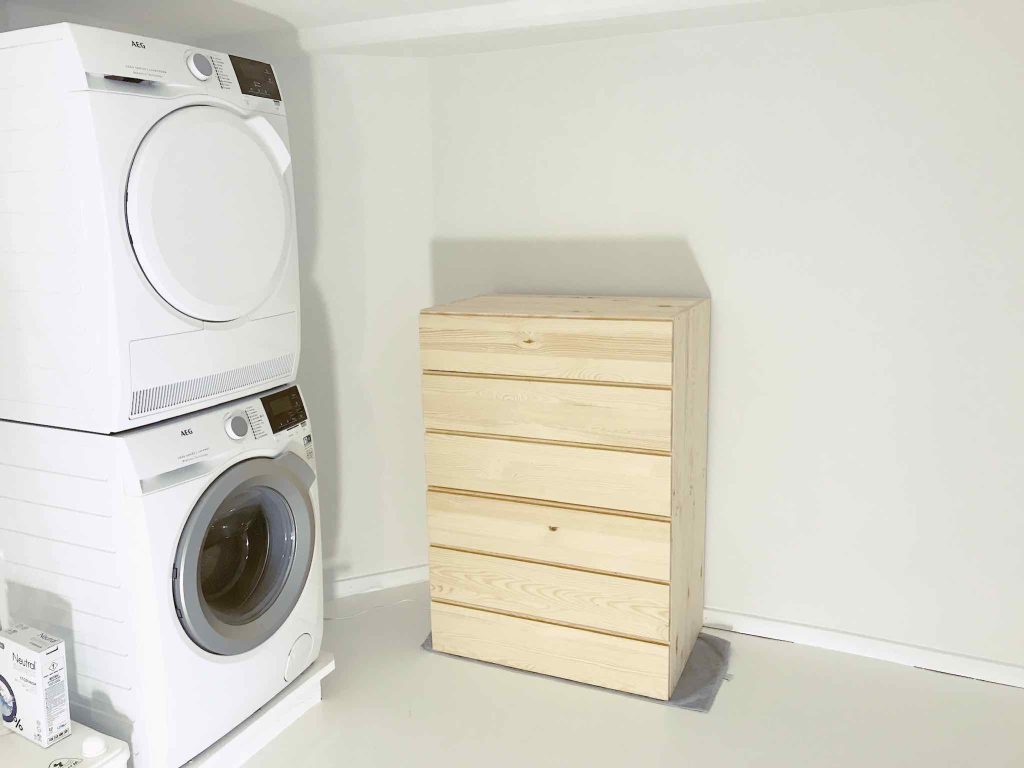
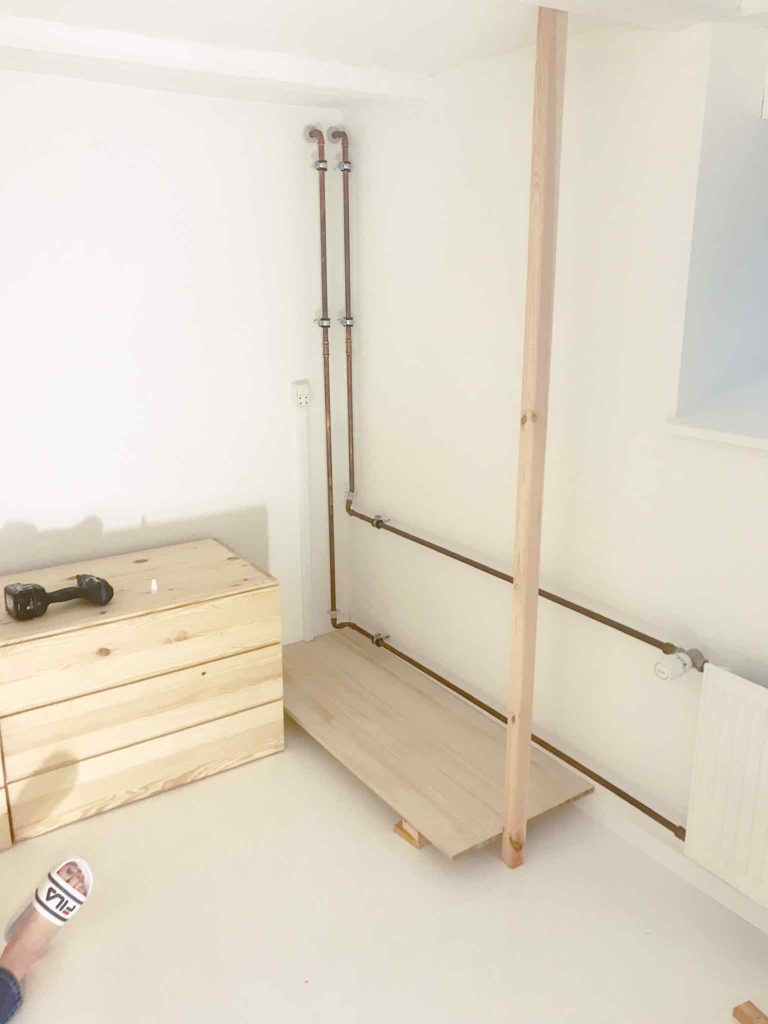
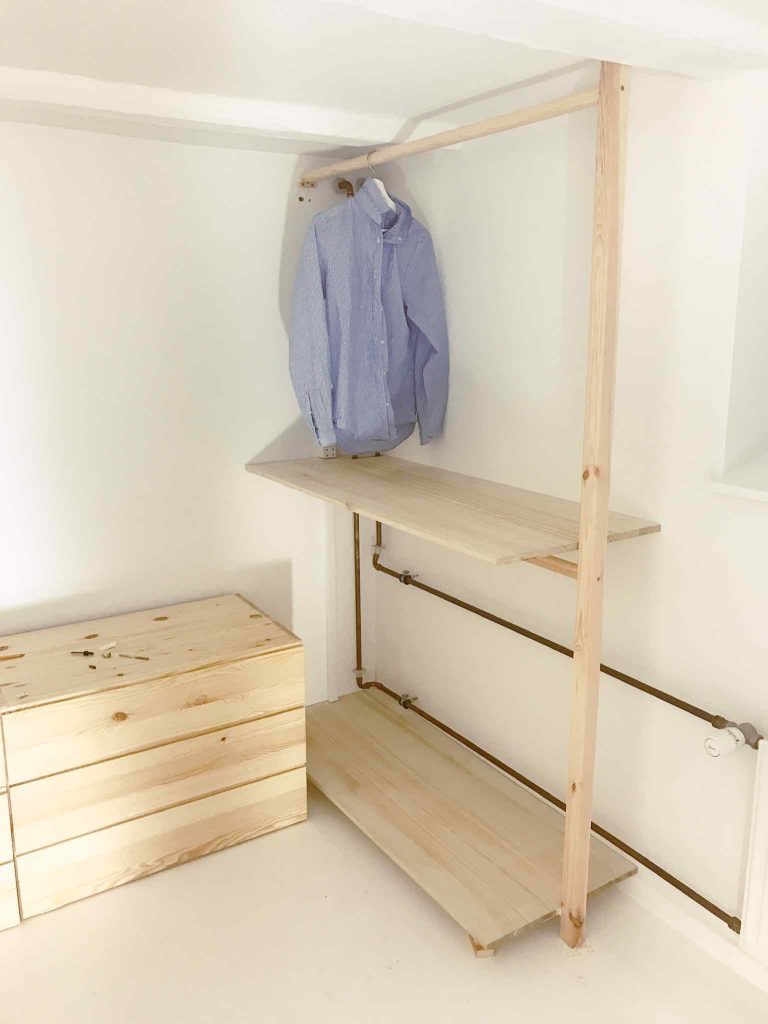
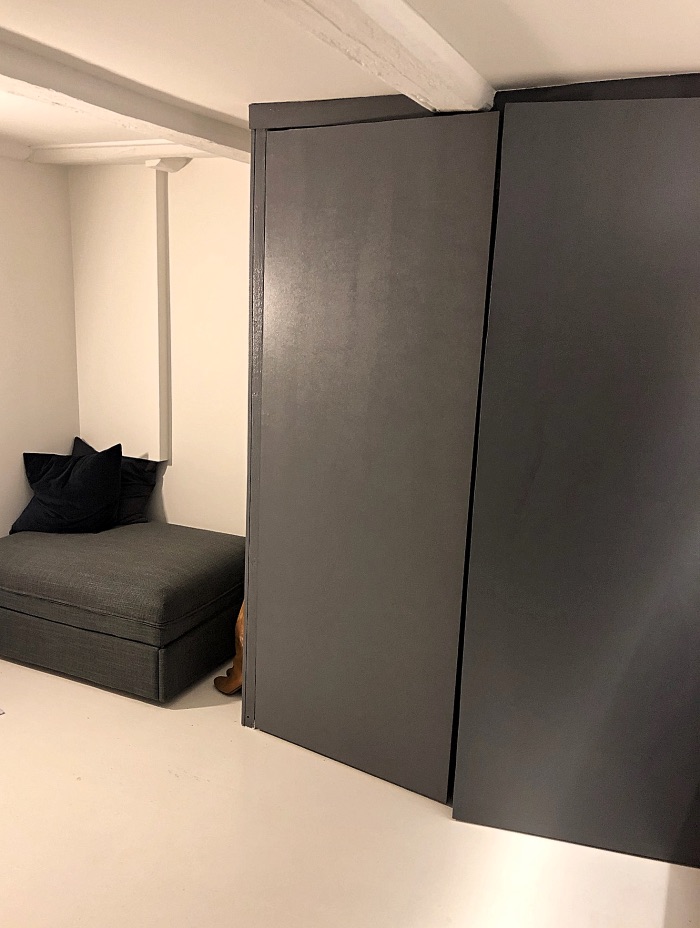
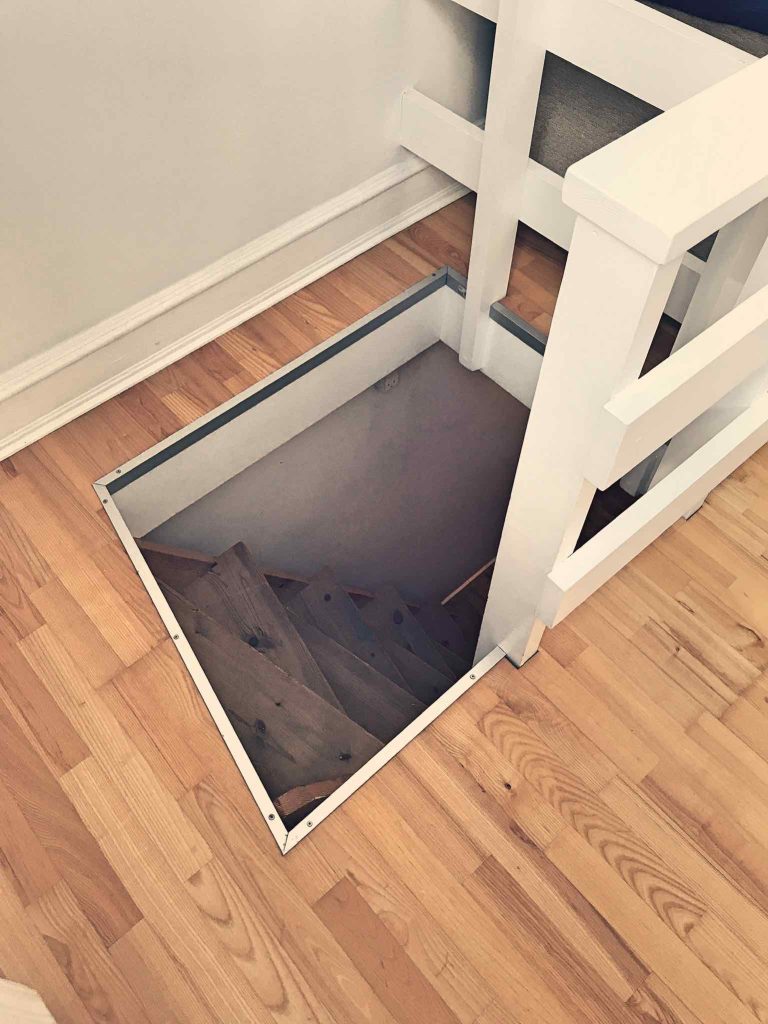
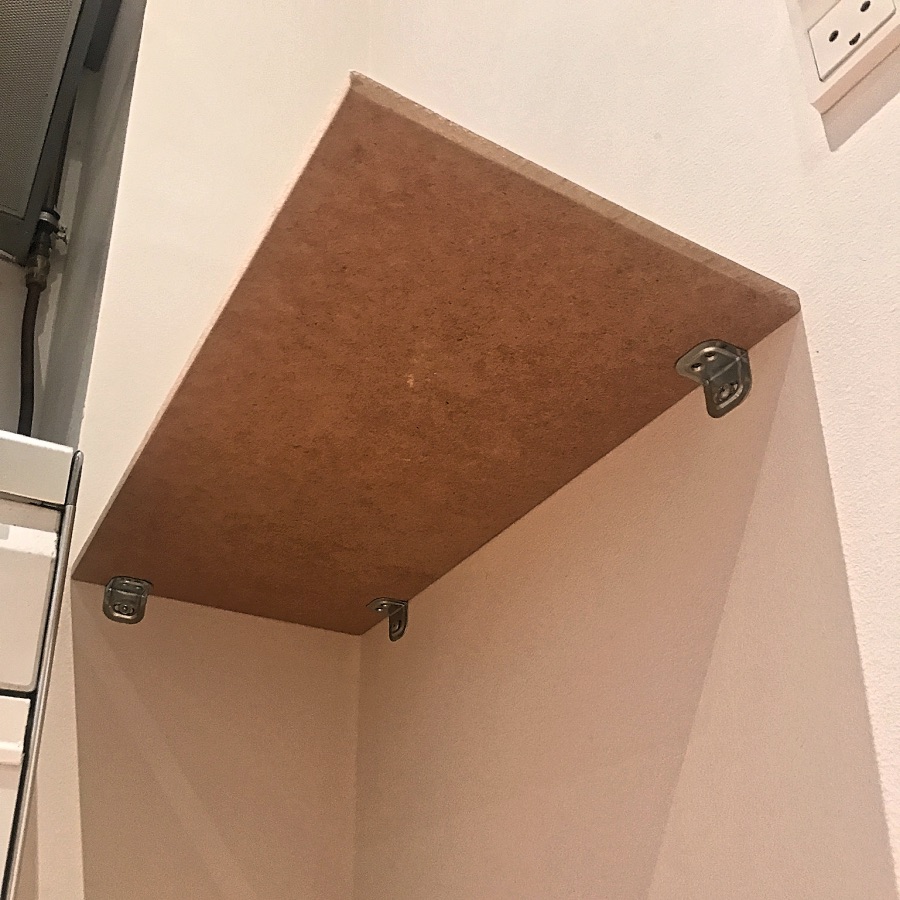
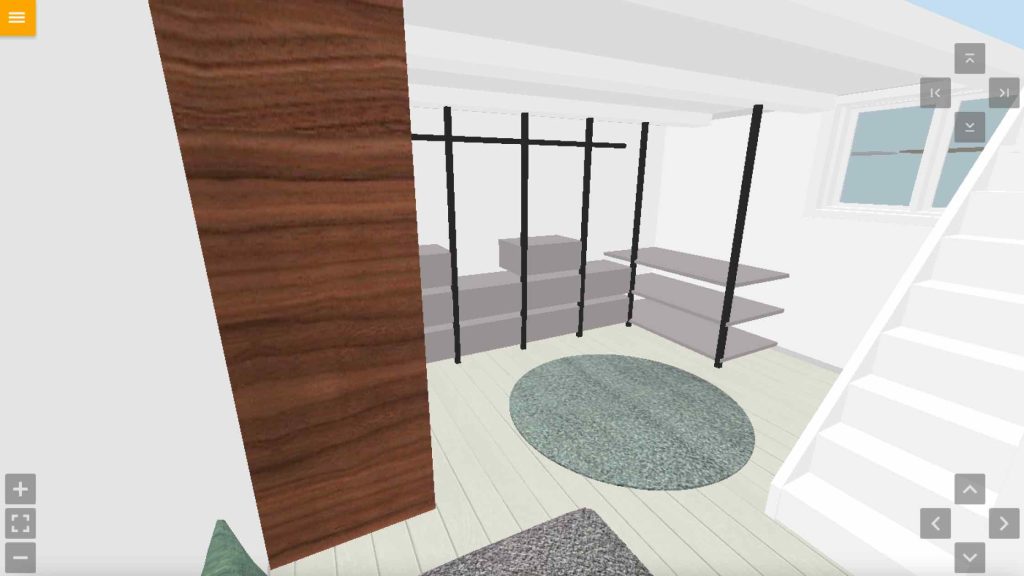
From the living room floor we have a basement of around 15 sqm. 
Apartment floor plan
The easiest way to get the feel of the funky layout, is to watch this video below, that we took the day that we saw the place first.

Pictures from day 1

Entrance

Entrance

Bathroom

Bathroom

Bedroom

Bedroom

Kitchen

Kitchen

Entrance to living room from dinning room

Entrance to living room

Stairs to loft and into dinning room

Stairs to loft/office

Loft area

Loft

Stairs to loft and dinning room form living room

Stairs to loft and dinning room form living room

Stairs down to basement from living room

Stairs down to basement from living room

Stairs from living room to basement

Basement

Basement
Home Redesign App - RoomSketcher

Best Home Redesign App = Roomsketcher

Best Home Redesign App = RoomSketcher

Are you the visual type that would love to SEE your redesign ideas before build them? You are not alone, and luckily we've found the Best Home Redesign App!
RoomSketcher
Before we start any of our projects, we find it very important to be able to test out different ideas and visualize them, before actually building it in the real world. Therefor we had to find the best Home Redesign App.

We tested different 3D softwares out, and landede on a program called RoomSketcher. 
Overall UI RoomSketcher
A free version of the program is available, but to get more customizations options, we bought the VIP version for only 49$ / year. It has been worth any penny and way more! 
The overall UI is not super tricky to undestand. After a few hours of playing around, it is very easy to create whatever design you want. Start out by creating the floorplan, with walls, windows, doors and the different rooms.
Projects with floors
You can have different projects, and under each project you can have many different floors (or the same floor but different versions of your design, we had probably 20 different versions of the basement saved)
For each floorplan you can specify the rooms measurements (wall height, type etc)
When you have the rooms set, you can start playing around with adding furniture. There a quite some options, and if you buy the VIP version of the software there will be even more. WE think you can even buy furniture bundles to upgrade your furniture library. But for us the library in the pro-version of the saftware was good enough. 
You also get to choose all kind of different materials, for both furnitures and walls/ceilings/floors. By one click you can change the floor in the whole apartment, and see how it looks, so smart. 
Home Redesign App - RoomSketcher
And whenever you have created a room that you want to visualize, you just click 3D, and a 3D world appers of the room. You can navigate around in the room, look in all directions and place yourself wherever you want. 
The program also offers to show this 3D look in a browser version so you can sent a link to friends and family and get their opinion. 
Browser sim
And if you want to see how big a room is relative to a human being, in the browser version you can actually walk around int he apartment with an avatar, and check how the different dimensions works with a human being in the room. Almost like the game SIMS 🙂 
We love RoomSketcher and for our needs this is the Best Home Redesign App we have been able to find, for an affordable price. 
Cupboard design for small bedroom

Cupboard Design For Small Bedroom

Cupboard design for small bedroom

Follow this simple step-by-step guide and learn how we created the perfect cupboard design for our small bedroom.
Cupboard design for small bedroom
Total Price
0 $
Estimated time
30 working hours
Difficulty
3.4/5

Step 1: Buy Top Cabinet from Jysk

We decided to go for a Jysk version of a cupboard. Is is originally designed for kitchens, but since the dimensions fitted our needs, we went for it!
Top cabinet from jysk

Step 2: Put cupboards together, and attached iron angles

We follow the instructions to put the cupboards together. We used 3D glue for extra support when putting it together. 
Remember before starting it is a very good idea to have most tools ready for use! If you are out looking to buy tools, this is a good place to start: 11 Most Essential Handyman Tools
Then we added 6 x iron angles that would be used to hang the cupboards on the wall. We used small but thick 12 mm screws to attach theses iron angles. 
Prepare-cupboards

Step 3: Measure and drill

First, measuring time (this is a very important step, and please do it in this order): We took the exact cupboards and placed it on its exact position, WITH the iron angles already screwed in the cupboard. Then we used a pencil to mark the positions of the holes of the metal angles, on the wall.
Then we drilled in the wall for all the marks we’ve put for the iron angles, and after that we hammered in wall-plugs.
Drilling

Step 4: Screws in!

Then we added screws in all the iron angles, and now the cupboard would stay on the wall. You probably need some help to hold up the cupboard while putting in the screws, this was a 2 person job for us. 
Hang-up-cupboards

Step 5: Repeat

Then we repeated step 1-4  for all the cupboards (this is the longest part of the proces).
Cupboards-succesfull

Step 6: Add filler and sandpaper!

Time to make it look nice. We added filler to all small cracks, and sandede it all down so it became nice and smooth.

Step 7: Paint

Painting time! First we sanded all surfaces with some sandpaper, and afterwards we applied paint two times. We actually used the same paint as for the wall, maybe not the ideal idea but it works out great, since the cupboards doors are not super often touched. 
Paint time
The pant we used was of the brand Nordsjö, and you can see the color code on the picture below.
The-paint

Step 8: Attach doors

After all the painting, we attached the doors and boom, our Cupboard design for our small bedroom was done!
Cupboard design for small bedroom-full

And there we go, that was our take on a cupboard design for a small bedroom.

diy floating kitchen shelves

DIY Floating Kitchen Shelves

DIY Floating Kitchen Shelves

Extra shelf space in a kitchen is always useful, and this very simple step-by-step guide will teach you how to build the perfect DIY Floating Kitchen Shelves.
Total Price
0 $
Estimated time
1 working hour
Difficulty
1/5

Step 1: Cut of the shelf

First we cut out the shelf from a simple leftover piece of MDF plate. We measured the dimensions of the corner the shelf would hang in, and cut the plate in a an appropriate size, using a simple hand saw. 
MDF Plate

Step 2: Attach angle irons

Underneath the MDF we attached 3 small angle irons on the wall. We used small ones to hide them as much as possible, to create the floating look of the shelf. The angle irons where attached to the wall using small wall-plugs. 
Angle irons

Step 4: Rounding of corner

We wanted to have the outer corner rounded so if someone walks into the shelf, they don’t walk straight into a sharp corner. Using the Multi Cutter tool it took no time to cut away the corner and sandpaper it for a nice finish. 

Step 5: Painting

Before attaching the shelf to the angle irons we painted the shelf in a gray color, and we painted the angle irons white, so it looks like they are a part of the white wall. This creates the floating look of the shelf. 

Step 6

Lastly we used small 13mm screws to attach the shelf to the metal angles, and whola, there we go. 
diy floating kitchen shelves
And there we go! A very fast and simple way to create your own DIY Floating Kitchen Shelves!
Shelf done
Final-design-diy-small-walk-in-closet

DIY Small Walk In Closet

9 DIY Small Walk In Closet Designs

During the design process of our DIY Small Walk In Closet, we had many different design ideas. Here is 9 of them! In the bottom you can see how the final result turned out in real life!

The original room

Original-version
This is a 3D model of our basement, created with the software RoomSketcher (read our full article on RoomSketcher here: Best Home Redesign App

Design 1

basement-design2
First we thought we could move the washing machine and tumble-dryer wherever we wanted in the room. But pipes for the water made it a big project, and therefor this design was skipped.  

Design 2

basement-design4
Another design before we figured we could’nt move the washing machine and tumble dryer. This time we add a little chair in the middle to have a spot to sit down and change shoes etc. 

Design 3

basement-design3
With this design we wanted to build a closet around the washing machine and tumble dyer. That is the brown box you see on the left side. 

Design 4

Similar to design 3, but different colors on the shelves and drawers. 

Design 5

This was a very different ideas, with more cupboards and closets instead of drawers. We felt like it looked a bit massive with all of those high closets. 

Design 6

Pretty close to the design we ended up with, but with very different wood that we used in the final project. 

Design 7

Complete change in wood-color. After inspecting the light in the room we wanted lighter colors of wood. 

Design 8

Similar do design 7, but with different drawer setup. 

Design 9 - The final design

Final-design-diy-small-walk-in-closet
And the final design! We figured that we have pipes running along the right wall, and therefor it would be very tricky to have drawers against that wall. 
Watch the video from the final design

And here is how our DIY Small Walk In Closet turned out in real life

12